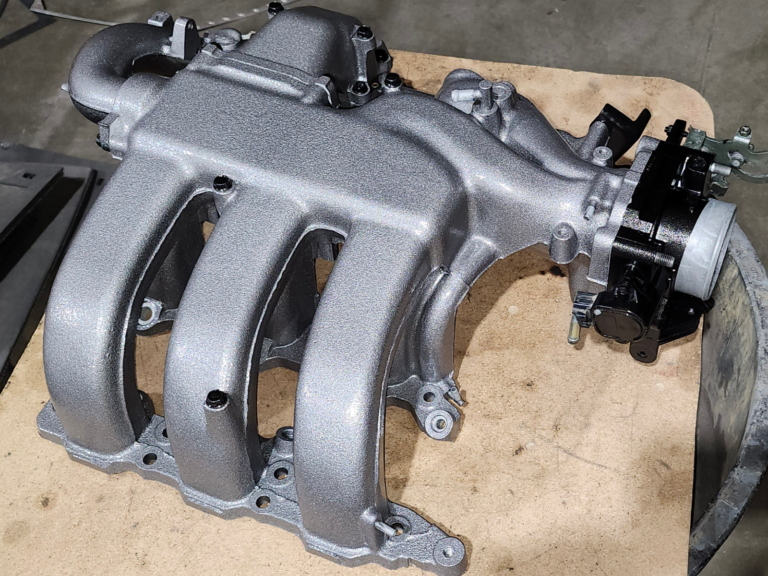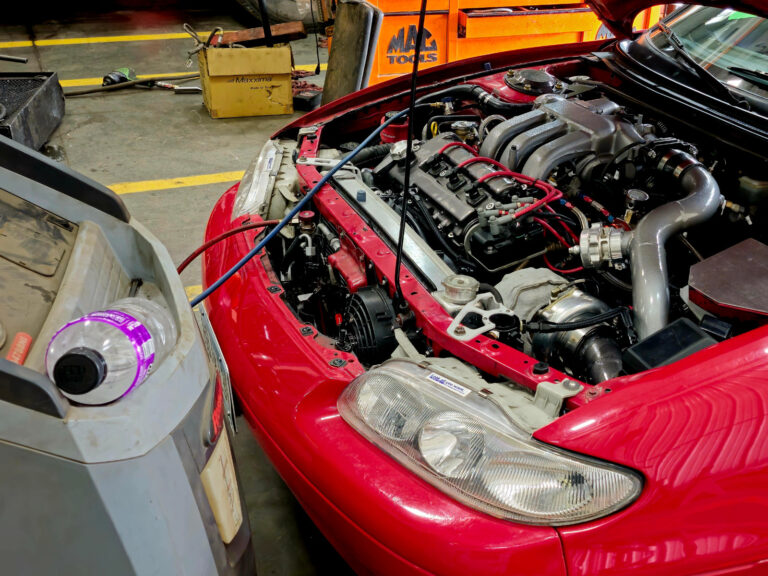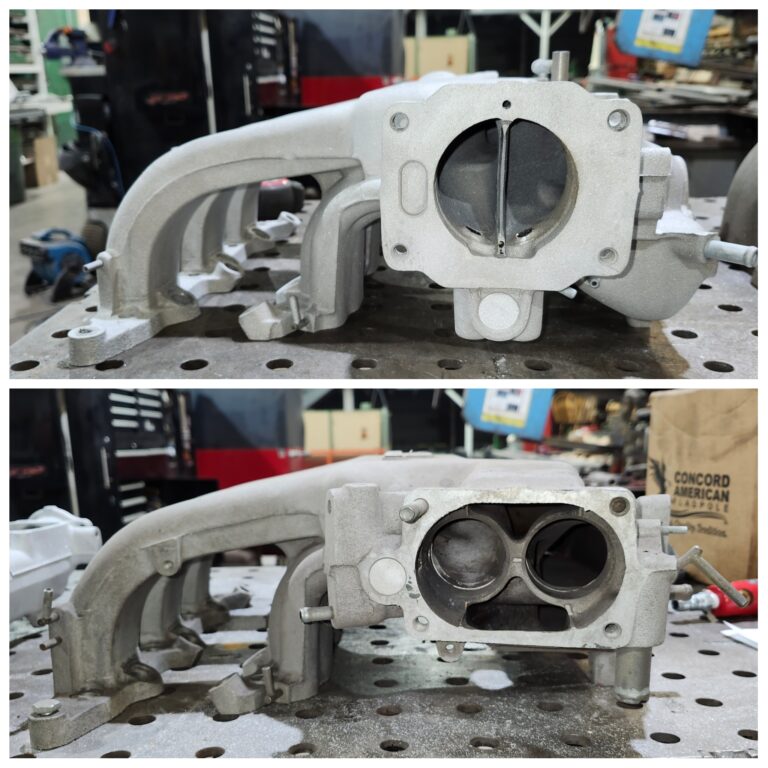
When it came to installing the MS3Pro Evo+ I debated for a considerable amount of time how I would approach it. I figured I had 2 options:
1. Splice into the factory ECU wires with the Evo+ Harness, use all OEM wiring to the engine. This way if I absolutely had to I could go back the MSPNP2.
This would be the fastest install with easy reversibility.
2. Remove all OEM Wiring from the car and make a new harness with the EVO+ wiring. Then strip the OEM wiring off all that is unused. This would ensure all my wiring to the motor was 100% New and solid. This would take longer, cost more and would not be reversable. Along with any short site in hacking up the OEM wiring could be an issue.
I decided for Option 2, my thought was I spent a lot of $ on this unit and I was not turning back.
What I did was remove the OEM wiring harness from the engine and interior of car. I traced all the unnecessary wires to there corresponding connector and labeled them. Then 1 by 1 I cut off unused wires until I was left with just a skinny harness.
I then took the EVO+ harness and routed it thru the firewall and routed the corresponding wires to locations they would be mounted at. I then cut and temporarily taped the wires in a branch formation ( like a tree ) in these locations.

This made it easy to sleeve all the wiring with nice looking terminations. All new connections were soldered and shrink wrapped. All new connections were done with Deutsch connectors.
The finished result ended up with a branch for Injectors and Ignition, a branch for all the added sensors and required sensors, a branch for connecting to the interior wiring and a branch for all OEM engine wiring.
The Injectors were wired to be ran full sequential and the coils were wired for batch fire. I Decided not fully sequential the build and instead I’m running the injectors semi-sequential.

For the Knock sensors I utilized GM wideband type sensors, I located one in the factory location and the other on the back side of the block.
The sensor in the factory location required a custom made stud to secure it.


How useful was this post?
Click on a star to rate it!
Average rating 0 / 5. Vote count: 0
No votes so far! Be the first to rate this post.
We are sorry that this post was not useful for you!
Let us improve this post!
Tell us how we can improve this post?