

This is a general guide to fabricating our discontinued expansion tank that fits our 3D printed bracket(s) design. It is assumed that if you are using this guide you have a general understanding of fabrication and are only using this to get an idea of the parts needed and the best technique to fabricate the tank. Please do not email inquires.
To build this tank you will need a TIG welder and capability of aluminum welding.
If you would like to download a 3D file of this tank, please see our downloads section.
First off is the material list, the Tubing OD is required, the Wall thickness can be your choice. The Aluminum plate can be a choice of thinner or ticker material. The thicker material is much easier to weld.
Material List:
2.375″ OD x 1.54″ Wall x 2.875L Aluminum Tubing
.125″ or .190″ Aluminum Plate 2.25″ x 5.00″
The parts list below includes links to amazon equivalent’s that will work well.
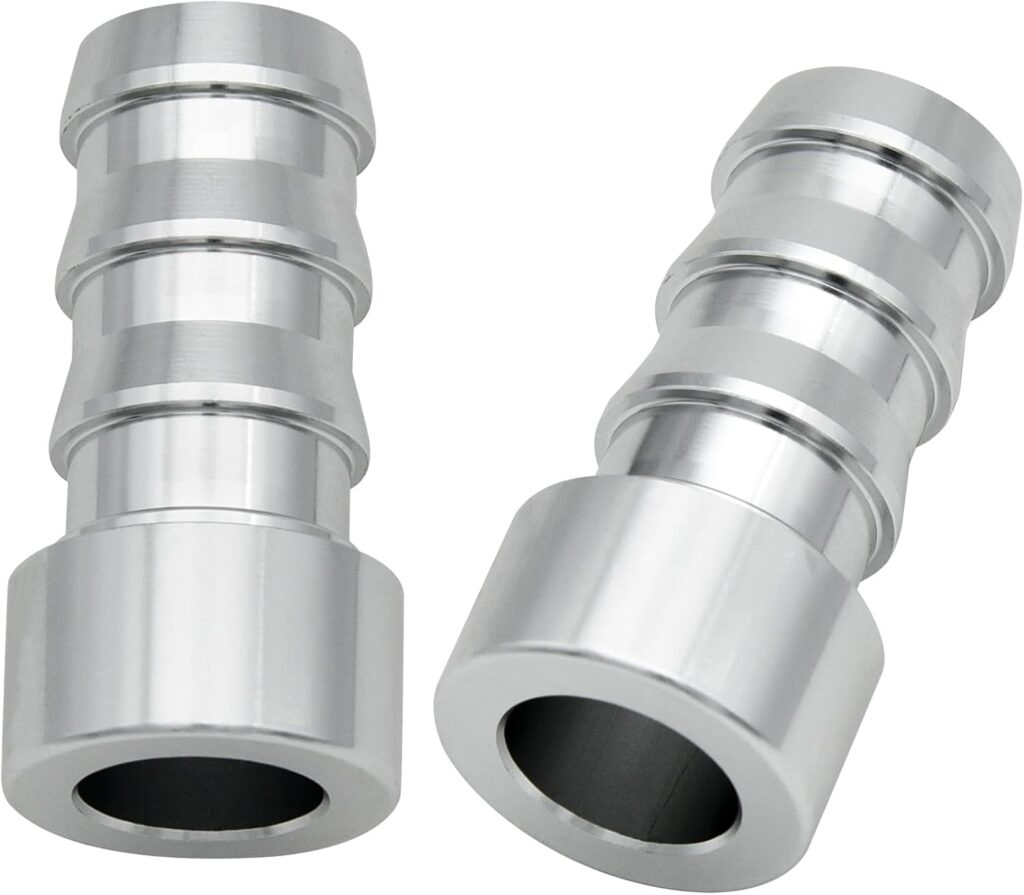
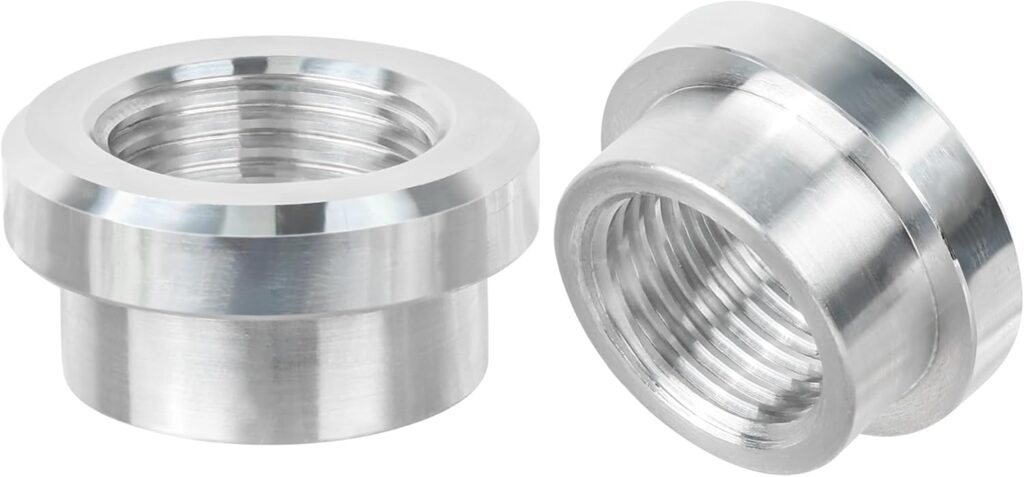
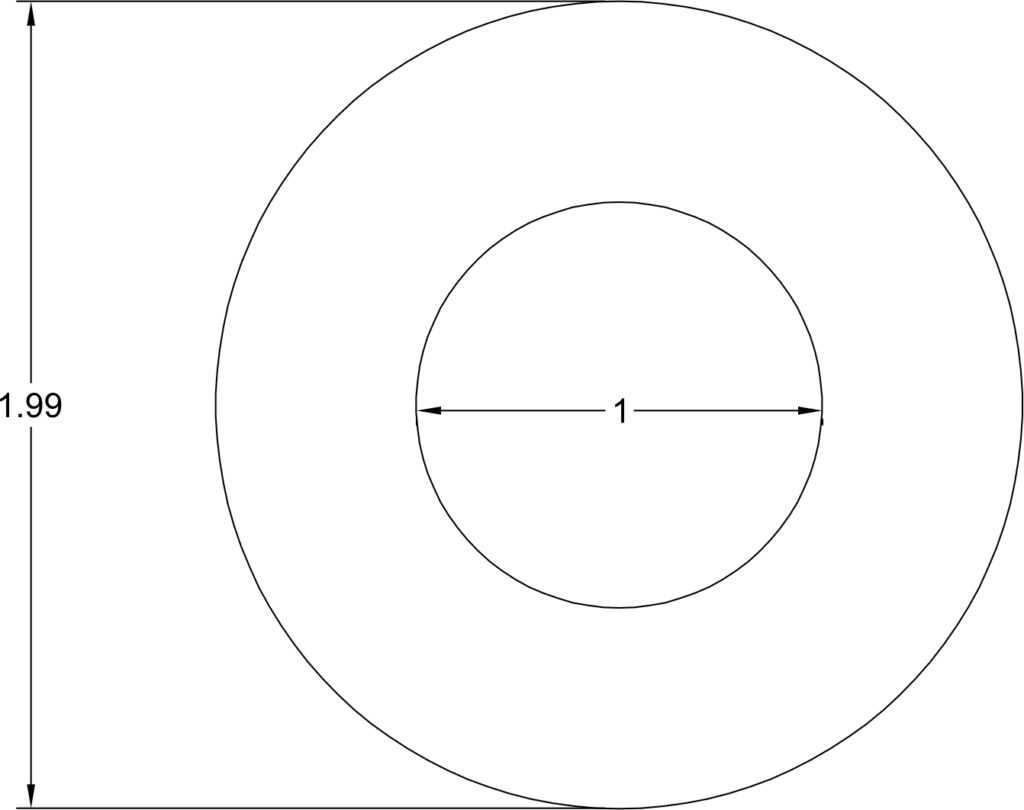
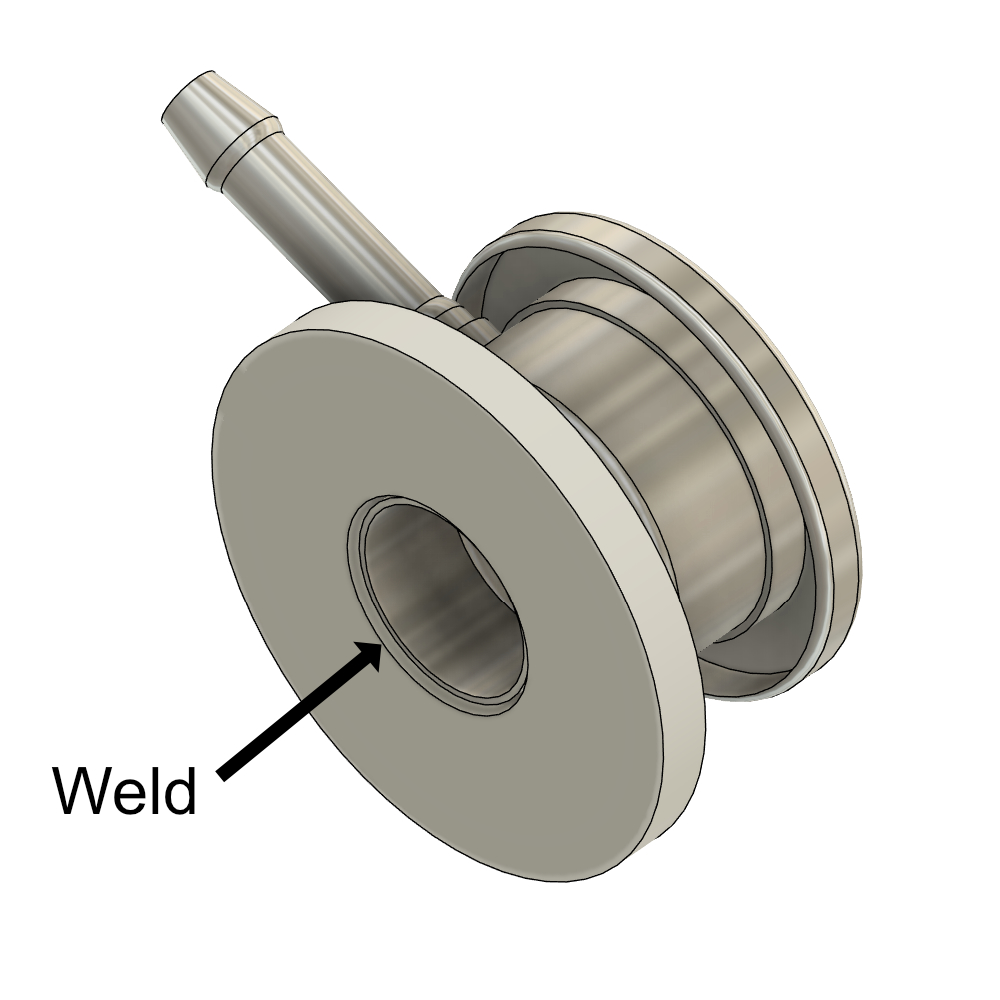
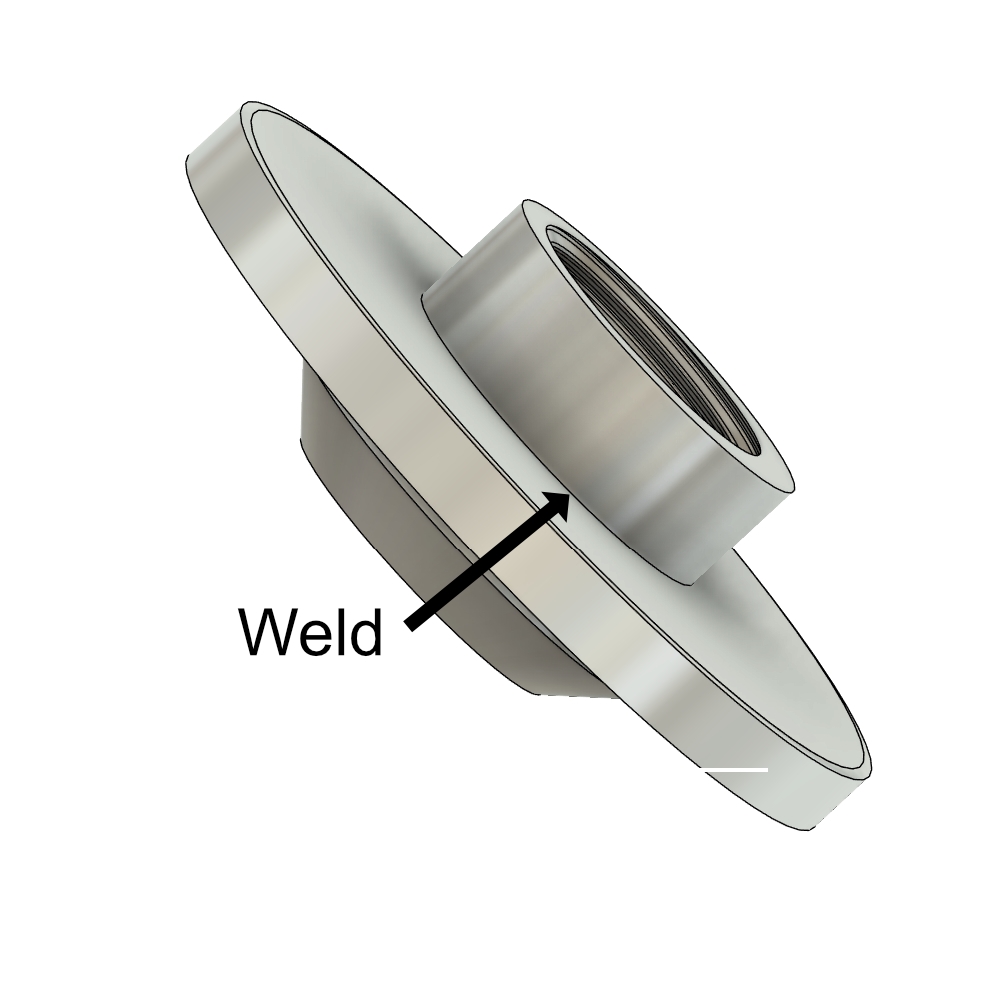
First off you need to cut 2 circles into the aluminum plate with an outside diameter of 2.0″. Cut 2 of these circles with a inner circle that is the inner diameter of the filler neck inlet and the weld on bung inlet. The Spec sheet says 1″ but this size can vary depending on the materials you buy.
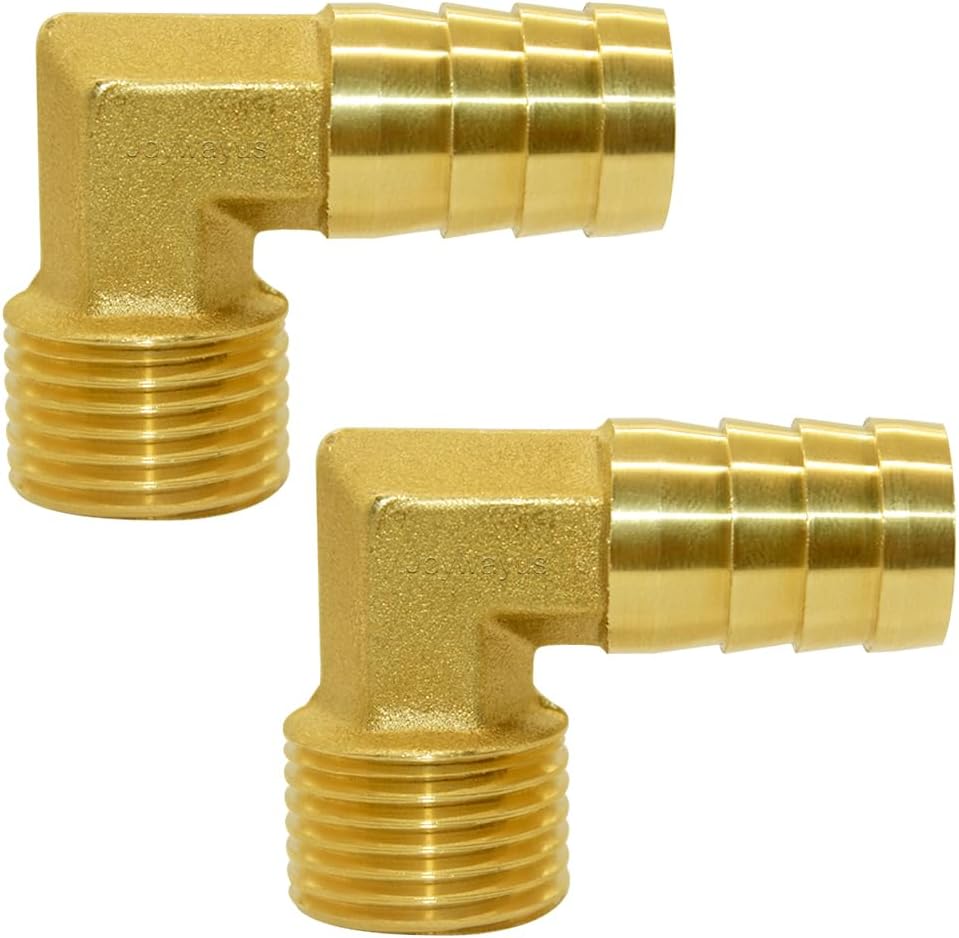
Start with welding the filler neck from the back side, the end that will be inside of the tank. This is the easiest way to weld it and is a cleaner look.
Weld the Bung from the back side, the end that will be inside of the tank. This gives a cleaner look and it gives you a second chance to seal any leaks if your welding is poor. you can simply weld the outer side later on after pressure testing.
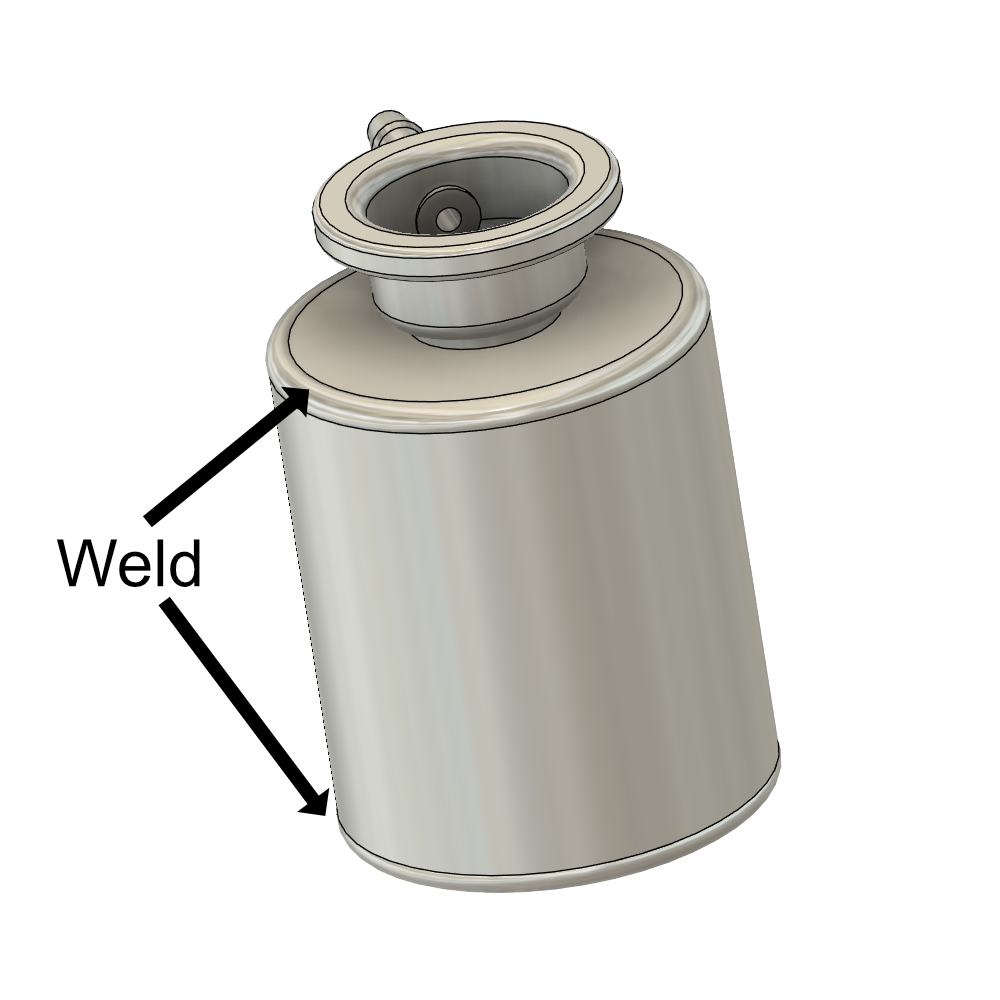
Weld the Bung cap and Filler neck cap on either sides of the tube.
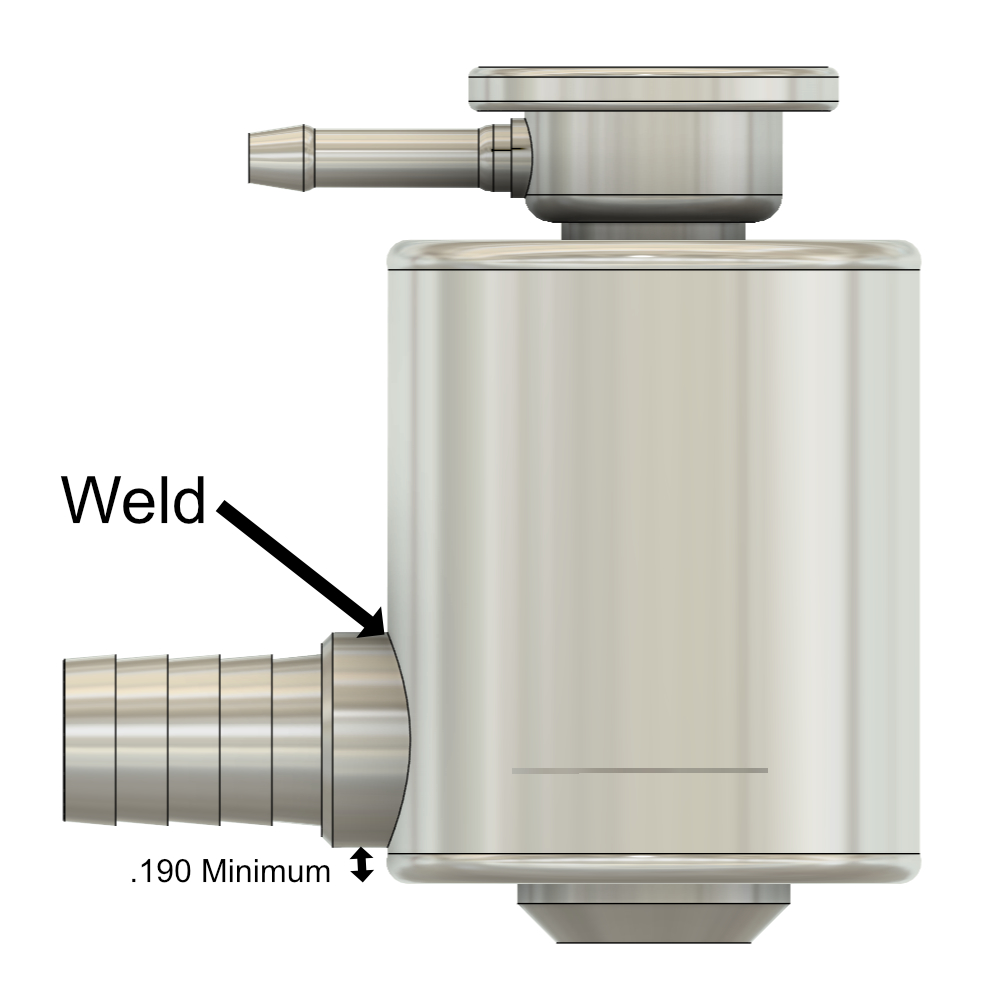
The barb end is positioned no lower than .190 from the bottom of the tank. It can be mounted as high as needed.
How useful was this post?
Click on a star to rate it!
Average rating 5 / 5. Vote count: 1
No votes so far! Be the first to rate this post.
We are sorry that this post was not useful for you!
Let us improve this post!
Tell us how we can improve this post?
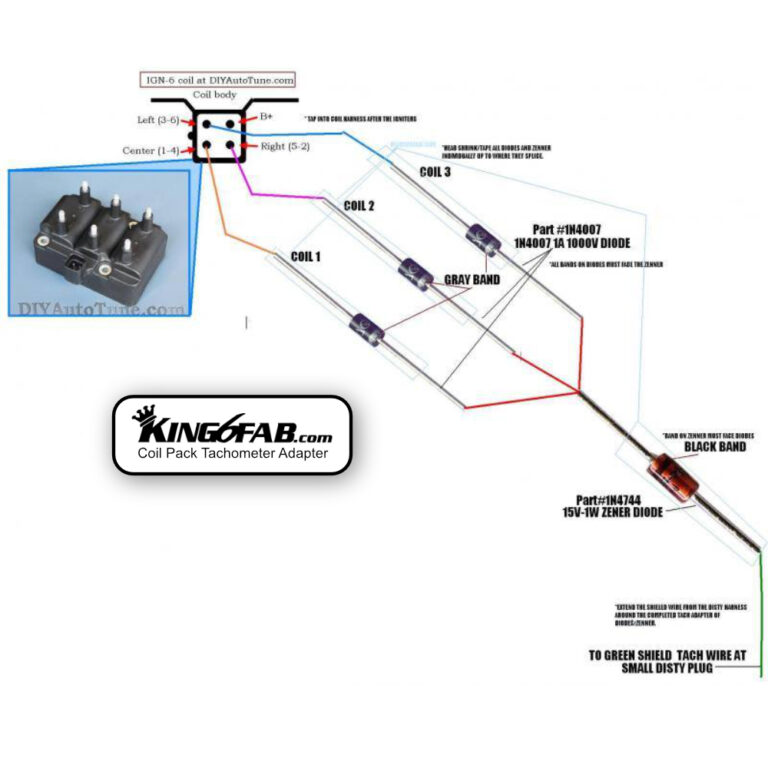
The below pictorial is all the diodes needed and position to wire them to create a tachometer adapter for the stock dashboard tachometer when using a coil pack ignition.
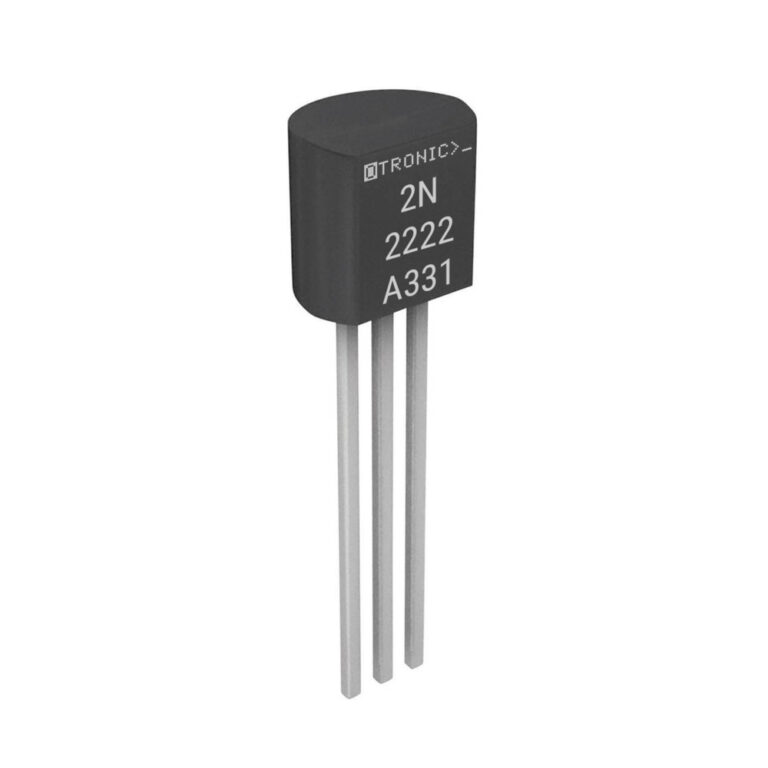
A simplified wiring pictorial for rigging up a transistor to use as a low voltage on & off switch for 12 volt electrical.
No products in the cart.