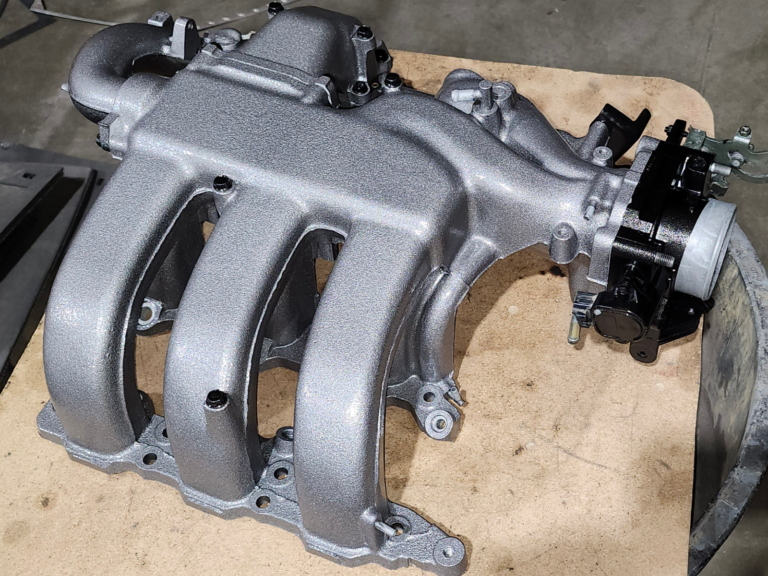
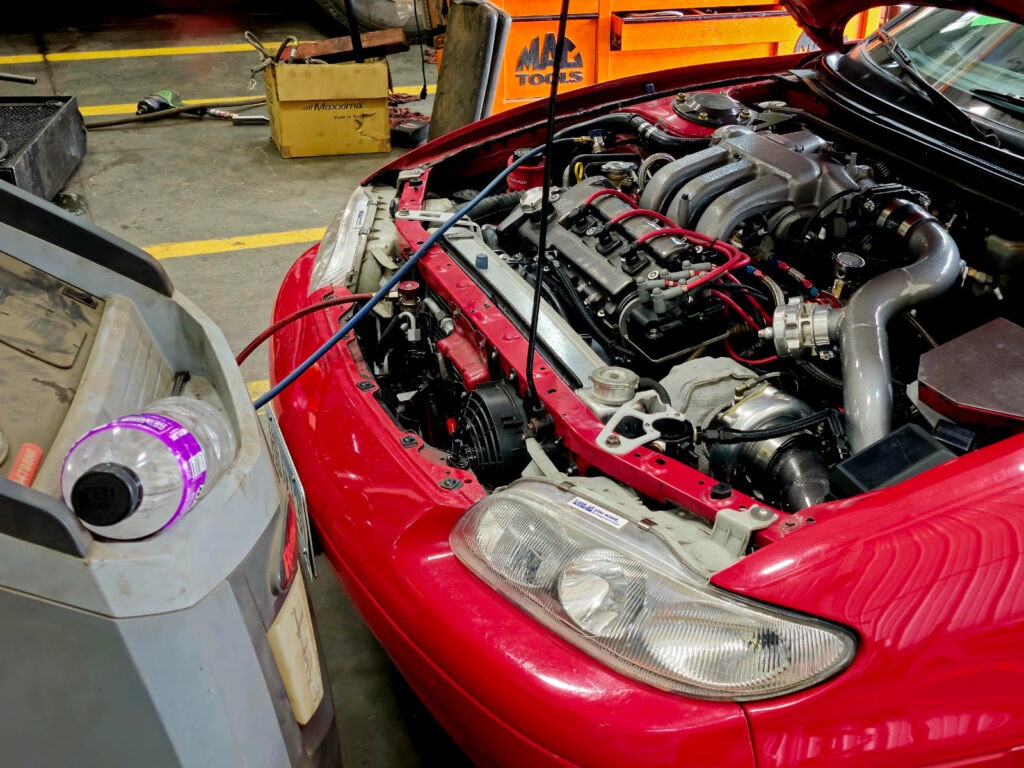
When I started building this car for boost in 2006 I decided it would be much easier to do without A/C. I removed every AC component in the engine bay and sold it to fund turbo related parts. Over the years as the build eventually went from mediocre to advanced, with a built engine, standalone, digital dash it seemed silly to have the perfect setup on a mx6, and sweat it out the entire time enjoying it. I choose to put the A/C components back on, this meant buying anything I could find new, and for what I couldn’t I bought used. This also meant retro fitting and bending. Not all parts would fit back on this car with a intercooler, intercooler piping and a thicker radiator.
Getting A/C Ready
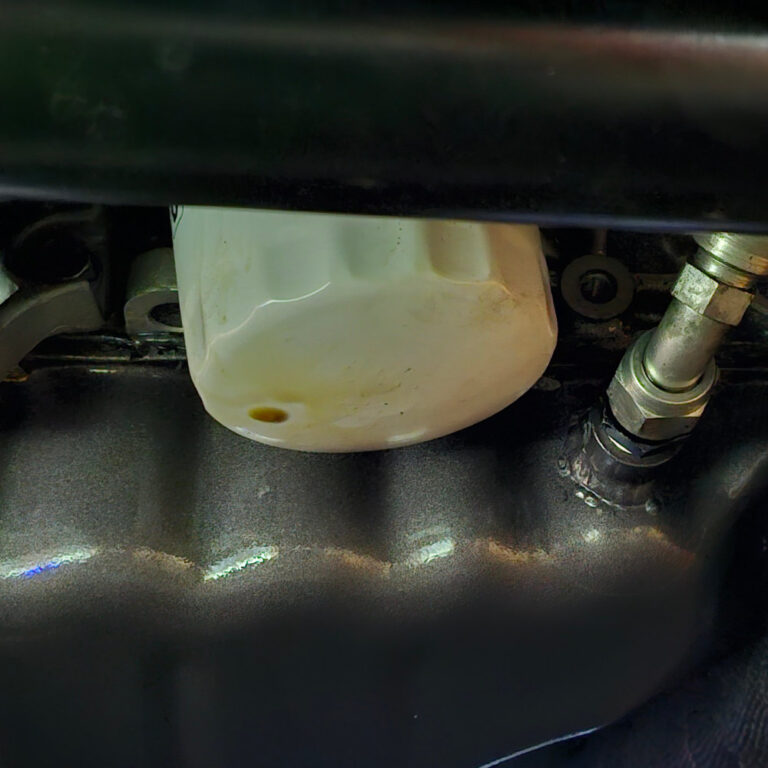
It had been a decade since the car had A/C and I didn’t plug the HVAC lines so I did have to clean out the airbox and replace the expansion valve.
Another issue I had run into is I didn’t exactly know how the A/C functioned on the car related to the OEM ECU. This took some studying wiring diagrams and back probing wires, but I figured it out and the stock A/C is very simple.
Figuring out the A/C
How the A/C functions, the user turns the A/C on by the hvac control. The a/c does not activate unless the blower fan is on at least speed 1. When both conditions are met the A/C amplifier sends ground signal to the pressure switch at the condenser. This is a double acting pressure switch, 2 wires G/B and L/B are normally closed contacted, if the pressure is within range the G/B wire allows ground to pass to the ECM telling it to enable the A/C relay. If the pressure is to low or high the contact is open. The other side of the switch is normally open to ground, if pressure exceeds limits the switch is closed allowing gnd to the ECM to shut
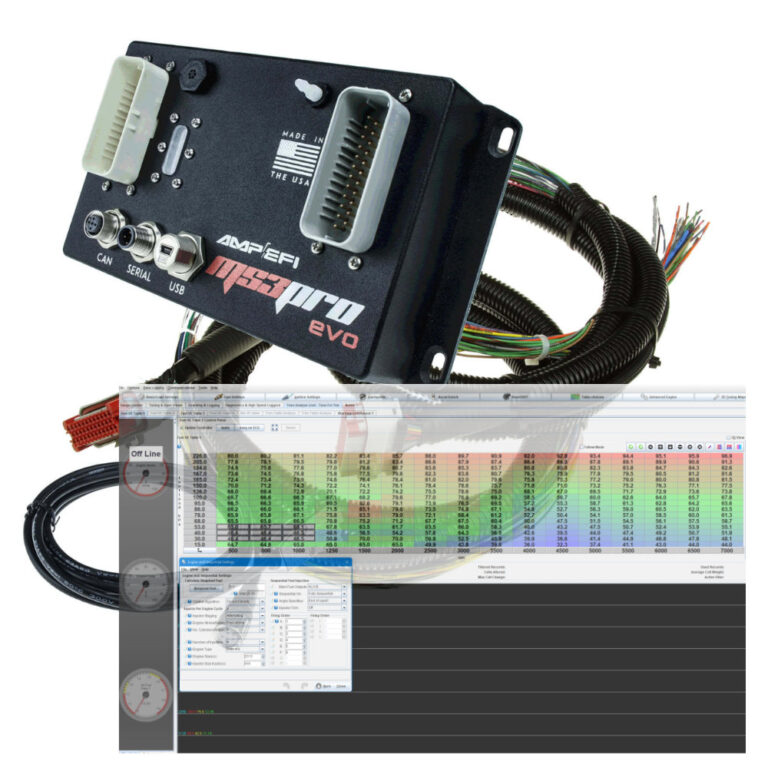
Wiring the A/C System to Megasquirt
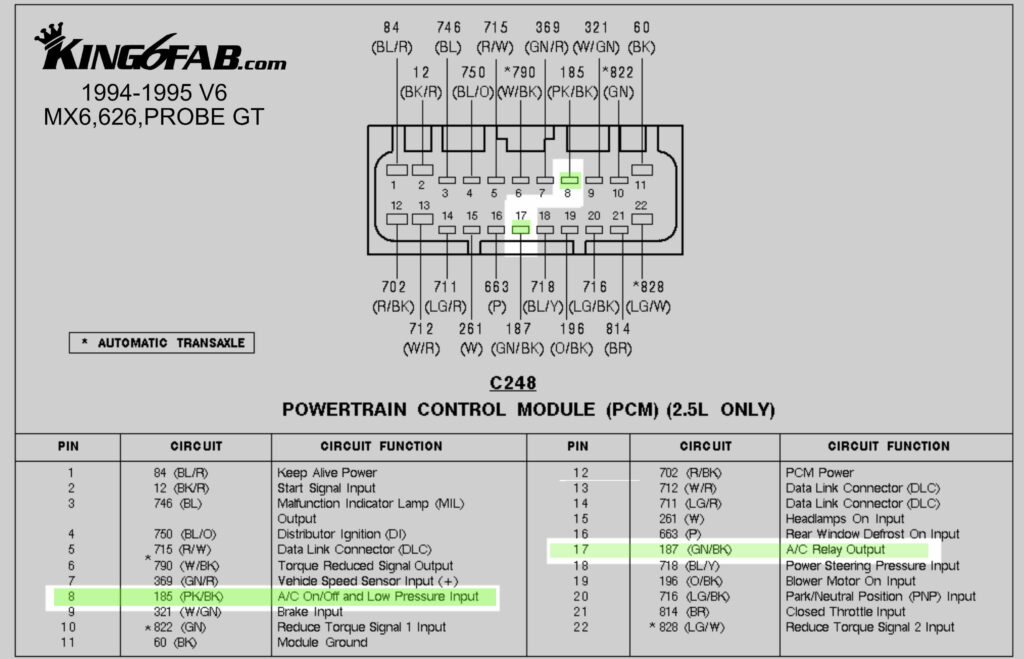
Below is the ECU pinout for factory AC wires. These wires are to be connected to Megasquirt to be controlled.
AC Relay Output will go to a Megasquirt output
AC Low pressure input will go to a Megasquirt input
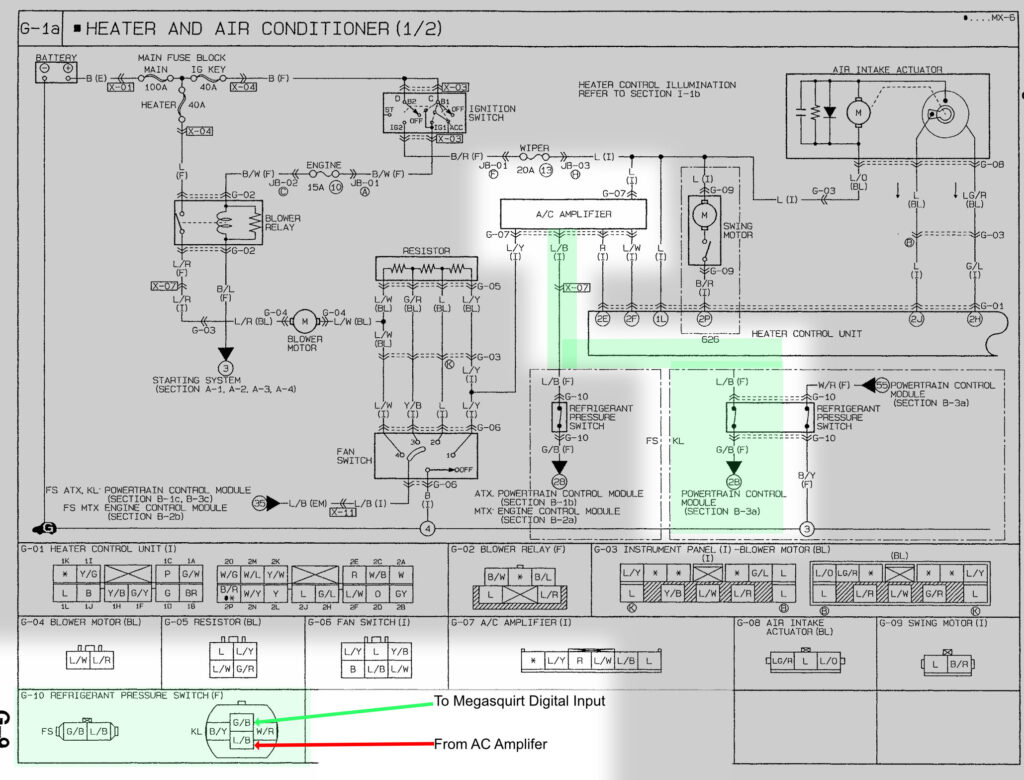
Below is the A/C Pressure switch diagram and how it corresponds with the A/C Amplifier and HVAC control. The G/B wire from the pressure switch goes to the Megasquirt input.
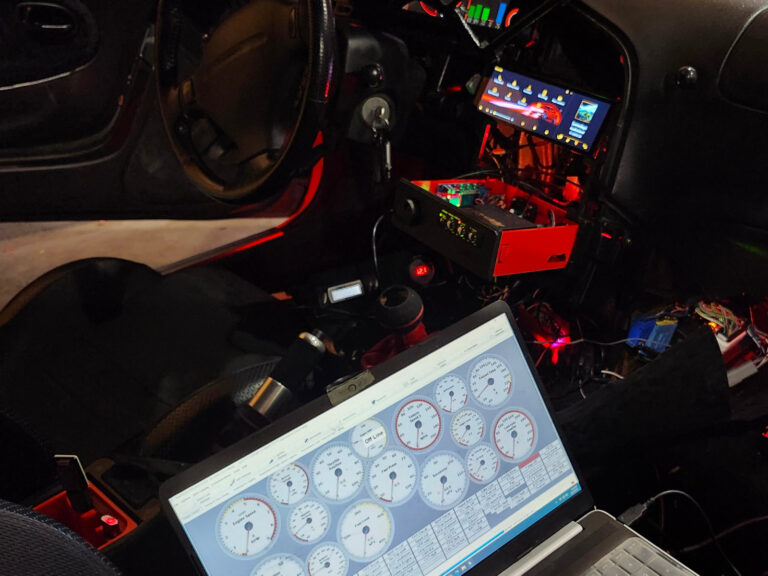
Now that the A/C is wired to the Megasquirt it required tuning the A/C settings in TunerStudio to get the A/C to function.
Troubleshooting
Initially I had the problem of the A/C compressor would kick on and the idle would increase but then second later the compressor would turn off. This kept happening over and over. I determined the idle up min RPM was to high, the compressor kicking on dropped the idle below 600rpm and the compressor would kick off. Changing this to 500 solved the issue. I also tried setting it lower, but then the compressor would stall the motor.
Below are the settings that worked for me and has the A/C working correctly.
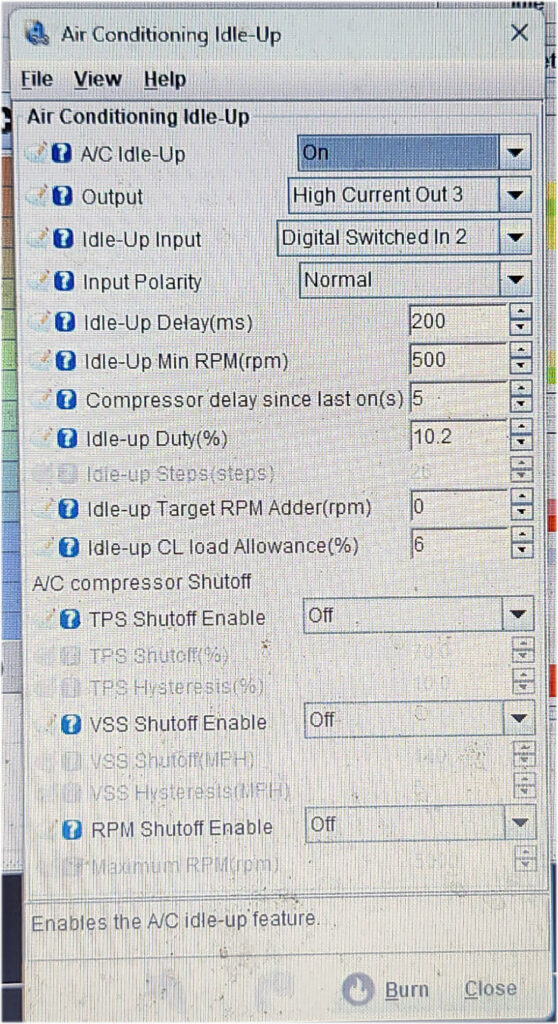
Additional to A/C settings, I Also configured the Fan settings to that the fan comes on when the A/C compressor is activated. My fan is also configured to idle up the motor 200rpm when active so I did not add an idle up to the A/C settings.
How useful was this post?
Click on a star to rate it!
Average rating 0 / 5. Vote count: 0
No votes so far! Be the first to rate this post.
We are sorry that this post was not useful for you!
Let us improve this post!
Tell us how we can improve this post?