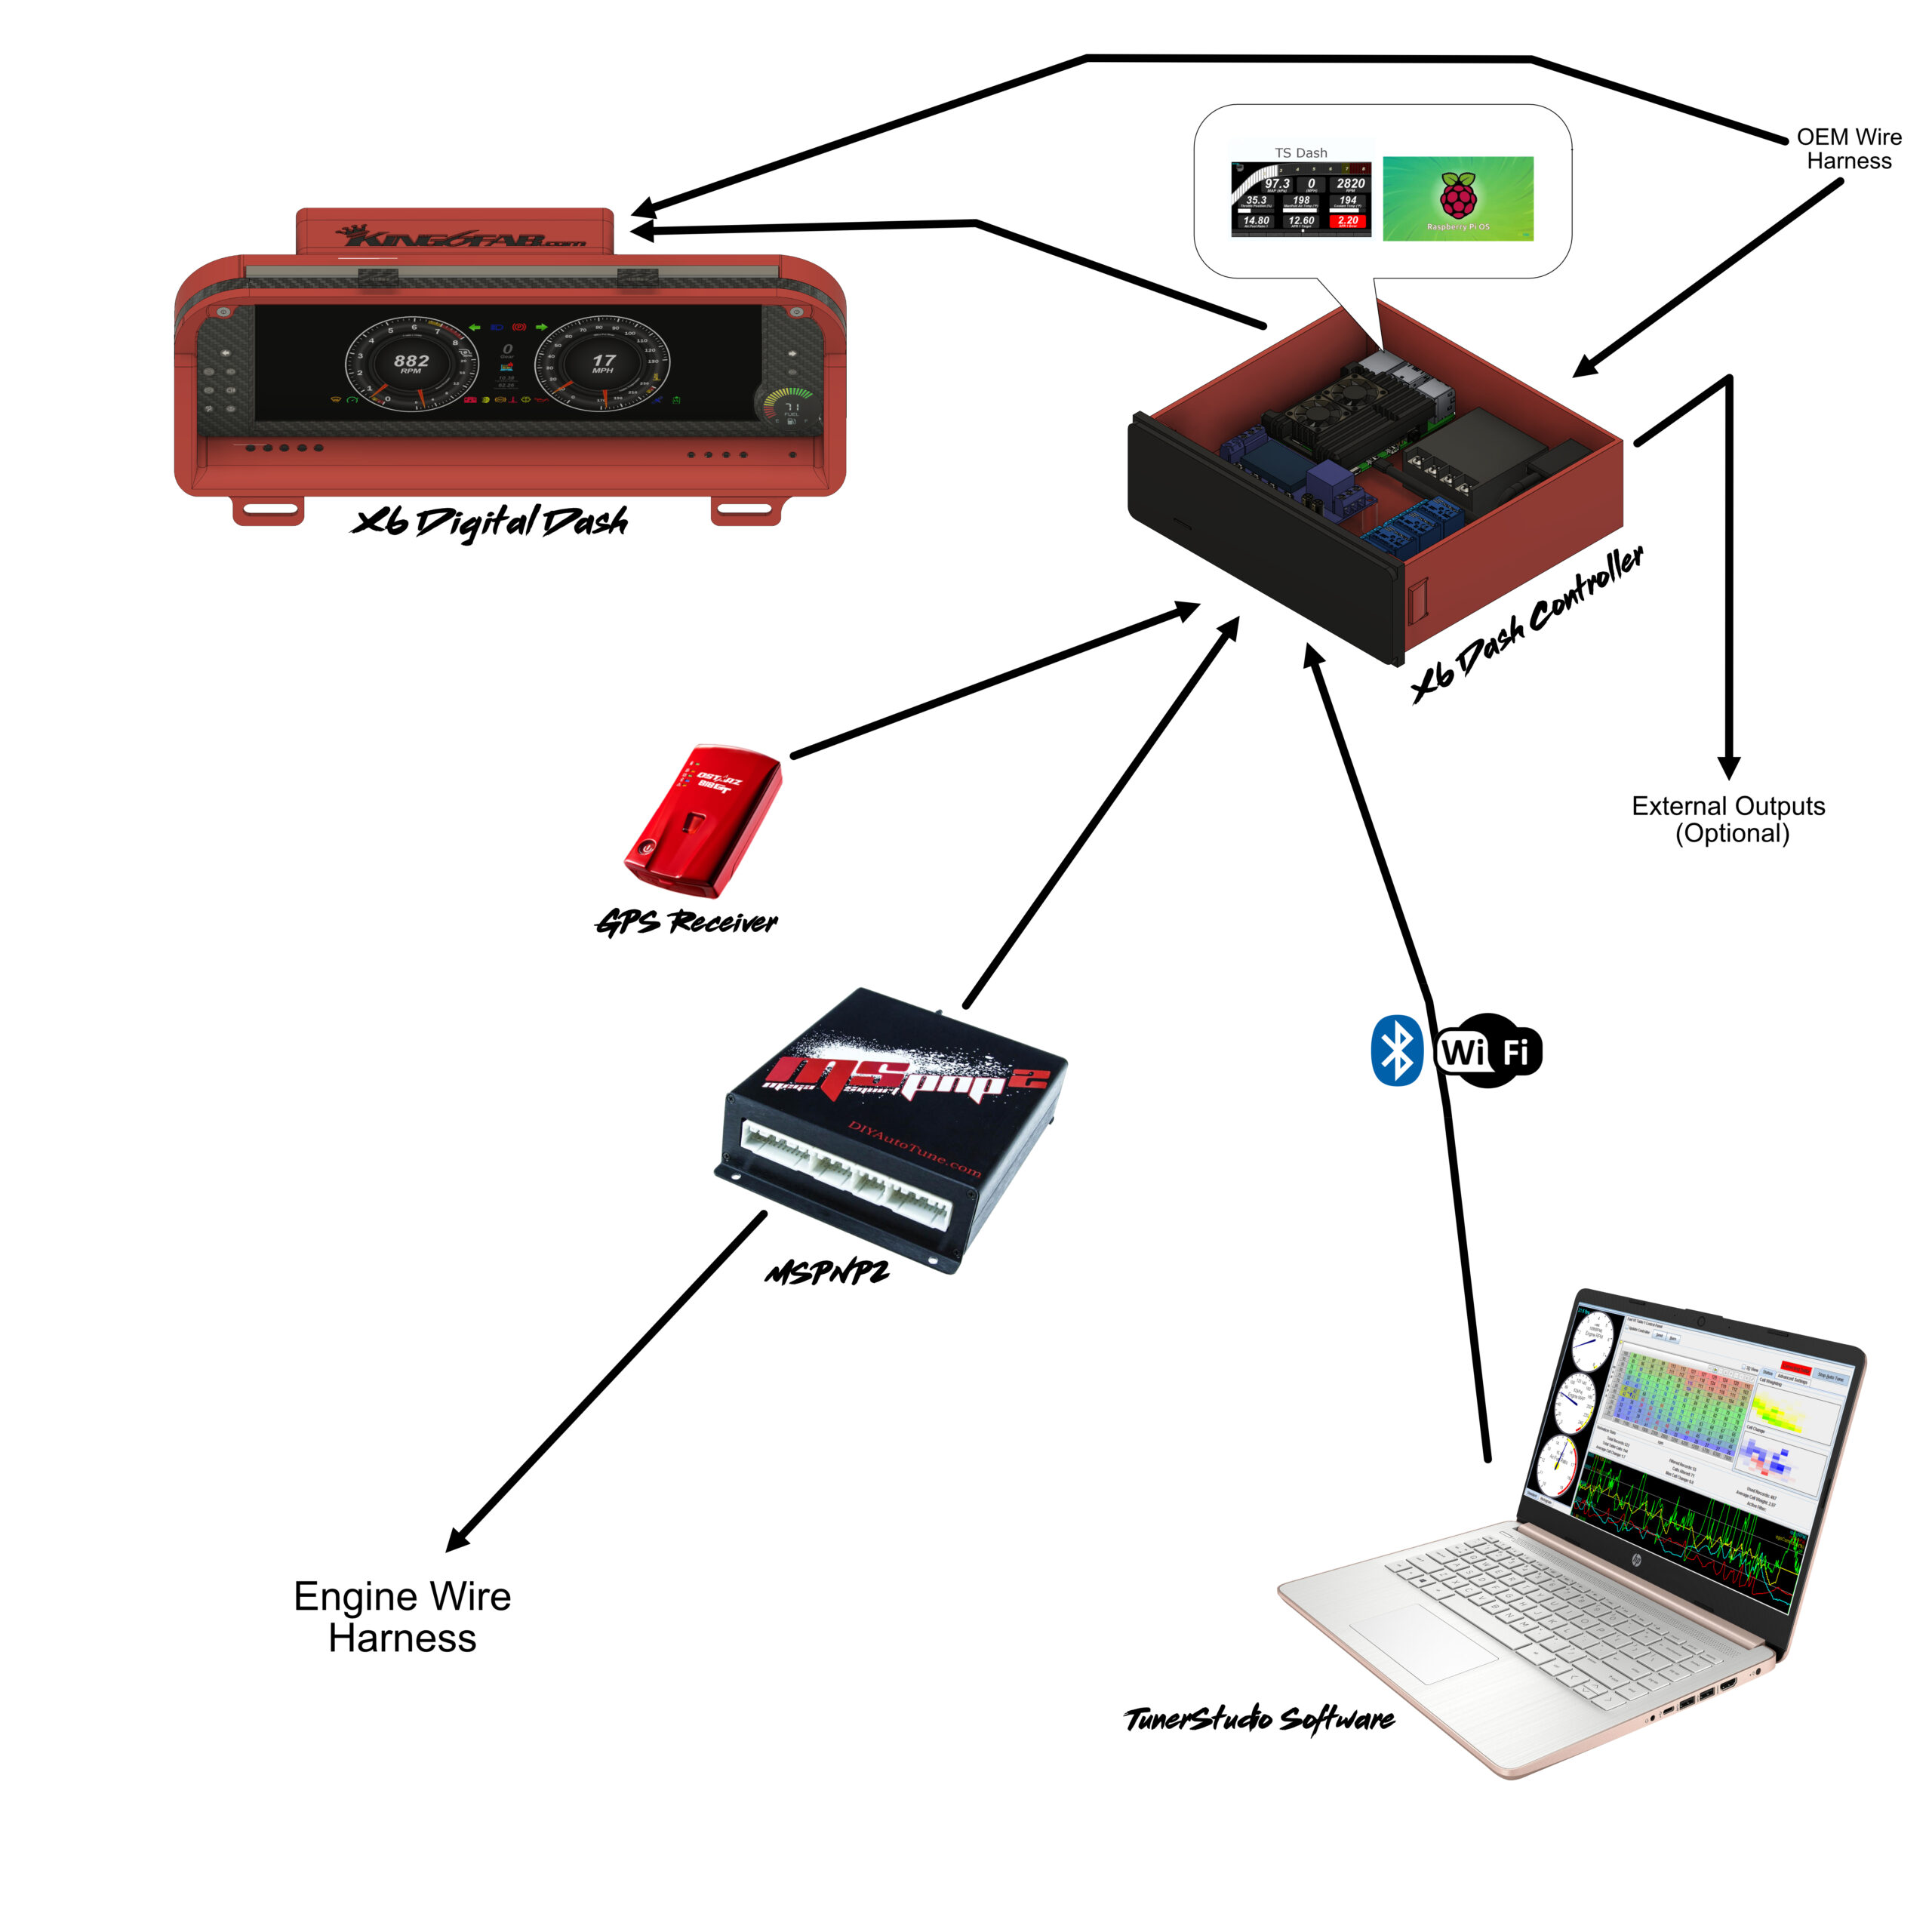
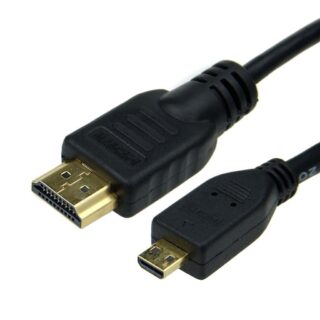

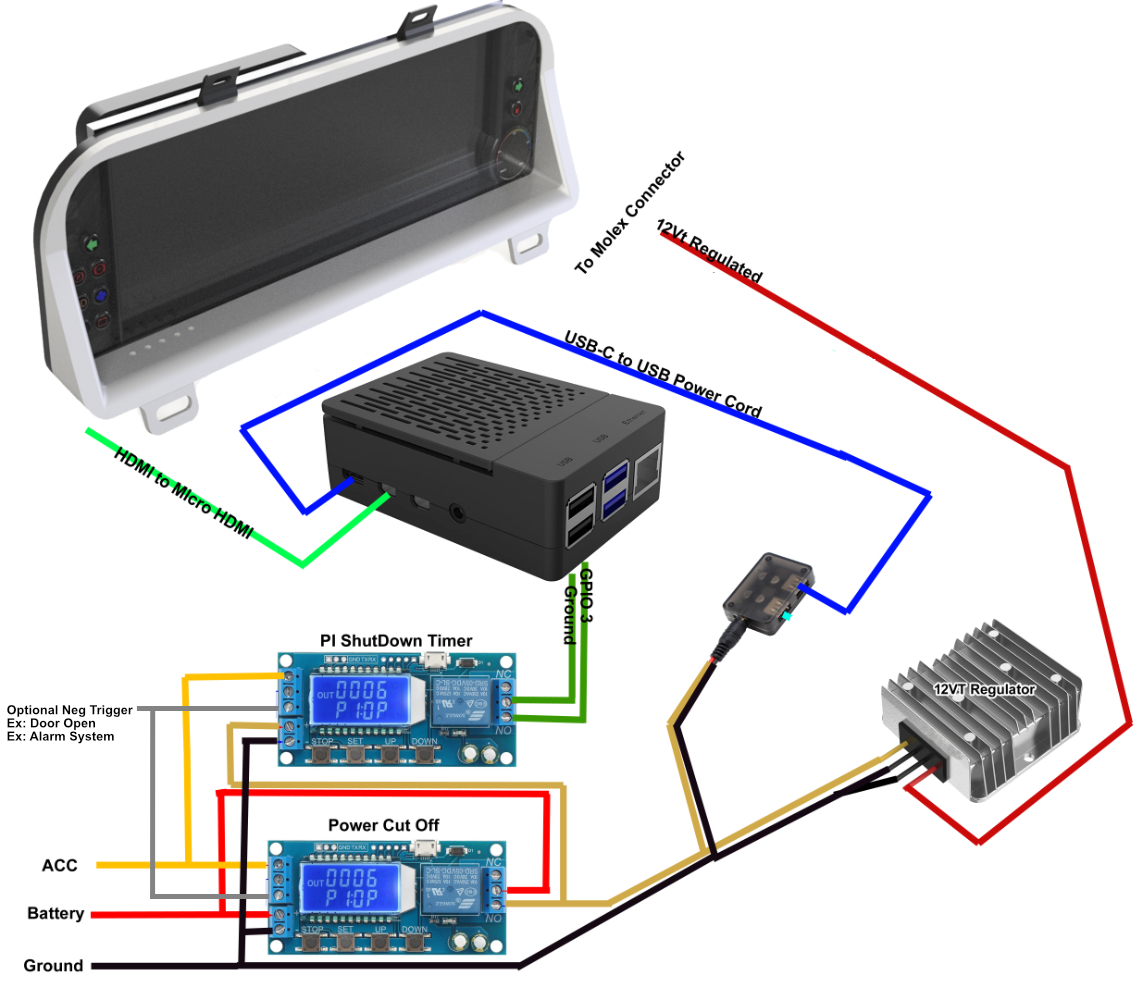
 You will also require a shutdown timer, I recommend using the DROK Timer, you will need 2, 1 for Power Cut Off and the other for PI Shutdown. The timer features a variety of settings on a LCD Screen with push buttons for settings. The Setting you will use is P7, and then adjust the timer up or down to the time duration of your choice.
How this timer works is that when pos or neg is applied( turned ON) to its signal pins, it activates a relay that will then power up your PI and Screen. When the signal inputs are turned off, the timer will begin a countdown. The duration of the timer should be much longer then the duration of the PI shutdown Timer ( See more info about PI Timer in TSDASH part of this guide). This timer gives the PI enough time to safely shut down before all power is cut and the PI is powered off. This also gives a grace period during shut down, if the signal Pins are repowered before the timer has runout, the timer resets and will remain on until signal pins are turned off again and the countdown begins again at full time. This works great for situations such as power cycling a megasquirt, the system will remain on during the power cycle and no additional bootup of the PI is required.
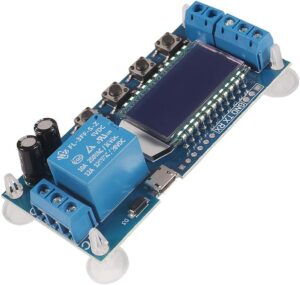
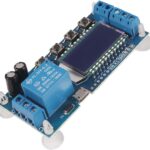 Power Cut Off Timer
You will be using setting P7:0P and adjusting the time up, I recommend at least 70 seconds minimum.
Timer Input Triggers
The timer can use a Neg or Pos or Both Input triggers, such as the POS can be used for the ignition when it’s turned on, The Neg can be used for the door trigger when a door is opened. Using both these inputs will allow the PI and screen to boot immediately after a door is opened, if the door remains open the system stays on. If the door is closed the timer countdown until the door is re-opened, or the key is turned on. If neither situation happens before the time runs out, the system powers down. If the key is turned on, the system stays powered on while the door is closed.
This configuration offers the advantage of a faster boot up. Typically, with a Key to on position only setup, the PI will take 30 seconds to fully boot.
Using the door to preboot the PI can cut that down to however many more seconds it takes you to sit in the car and turn the key (5-10sec?) Its not a lot, but it all counts.
One issue with this configuration is if you use a deadman switch on your car. If your deadman switch is off and either door is open before the deadman switch is turned on, The Drok Timer will not work and your system will not boot. All doors need to be closed before the deadman switch is turned on.
PI Shutdown Timer
Technically this timer can be replaced with just a single micro relay or transistor, but I use it in this guide because its simple to understand for a novice.
This timer will be used to tell the PI when to shutdown, This timer will also use setting P7:0P and adjust the time up, I recommend 30 seconds shorter then the power cut off timer. The PI can shutdown very quickly but its better safe than sorry. If your PI does not shutdown before power is cut, your SD Card will get corrupted and whatever settings you have on it will be lost.
- Software Indicators
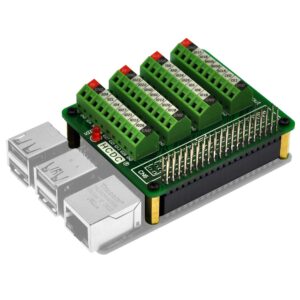 If you are choosing to use software supported indicators, buying a GPIO breakout board for your PI will be very convenient. This will allow you to easily attach the stock gauge cluster wires to the PI.
My guide does not explain the process of using and wiring software type indicators, generally this is easily done by a person with electrical experience but do use caution by including diodes to control reverse polarity and possible transistors to eliminate any possibility of over powering the PI. The PI can only receive 0-5vt inputs.
- Additions
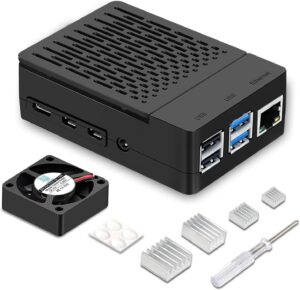
It is recommended to put your PI in a case to avoid unwanted shorting and equip it with a fan and heatsinks.