PLEASE READ
This Guide was copied from the Forums online and archived on King6fab.com for future reference.
King6fab has no affiliation or experience with the process shown in the guide and therefor cannot answer questions regarding the guide.
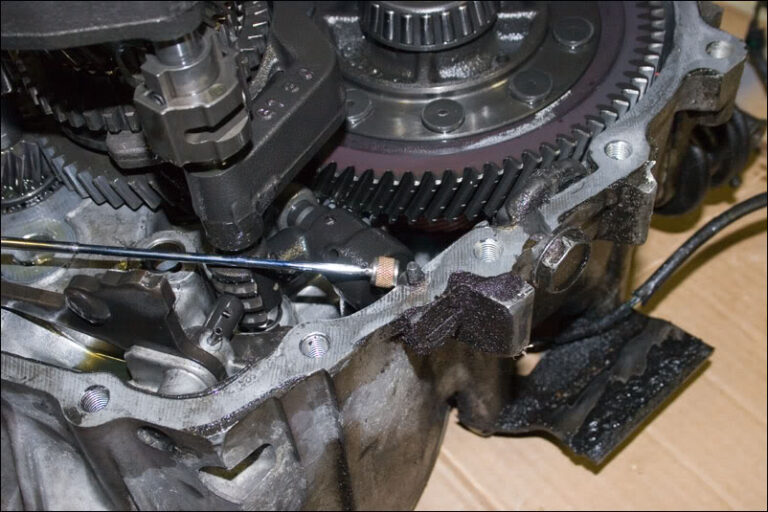
6. Now we move to the outer casing. Remove these two 12mm bolts. One is holding the reverse gear shaft, the other holds the secondary shaft. Then remove the 14mm bolt, this is holding a small spring and ball bearing for the reverse gear lever. Using a magnetic pickup tool, remove the spring, then remove the ball bearing. The remove the (x15) 15mm case bolts and lift the top section of the case off. You may need to wiggle it around to free the primary and secondary shafts.
7. With the top case removed, you should have nice clean internal parts.
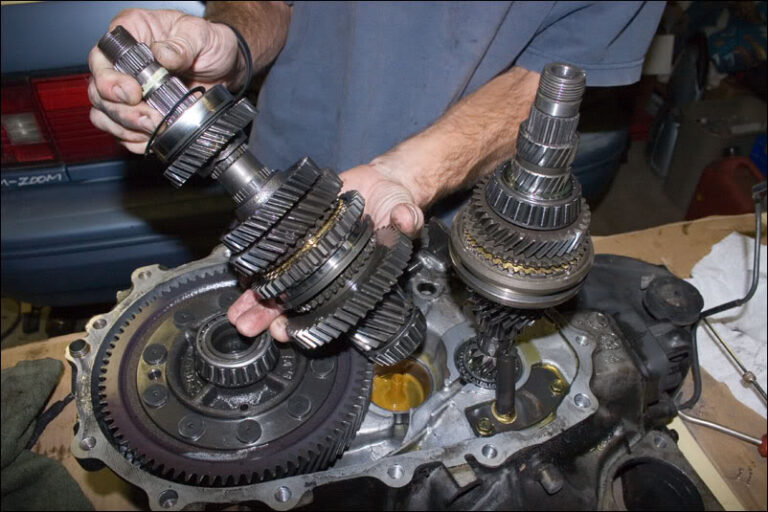
8. Now that the internals are exposed, we can start to systematically remove them. We start with the reverse gear. NOTE: the bolt attached to it, is the same bolt removed from the outer case a few steps earlier. In order to keep the parts together, we threaded the bolt into it to make sure it went back in the same place.


