Vehicle Installation
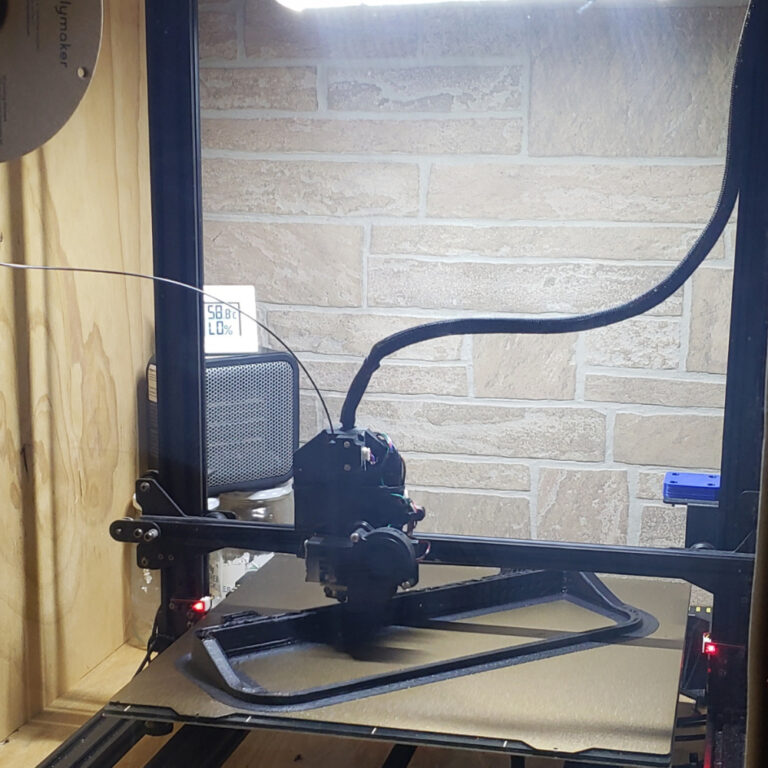
It is recommended to bench test your Dash Display if your able to. This can be done by simply connecting the Screen power input to 12volts and plugging the HDMI into a PC, Phone, Tablet or even a Amazon streaming stick. By doing this you can configure the screen for color, brightness and so on. While confirming the push button keypad works and the screen works correctly.
After confirming your Dash display works correctly, you can move on to setting the vehicle up to utilize it. For this you will need to plan your setup ahead a time and prepare the car for the display.
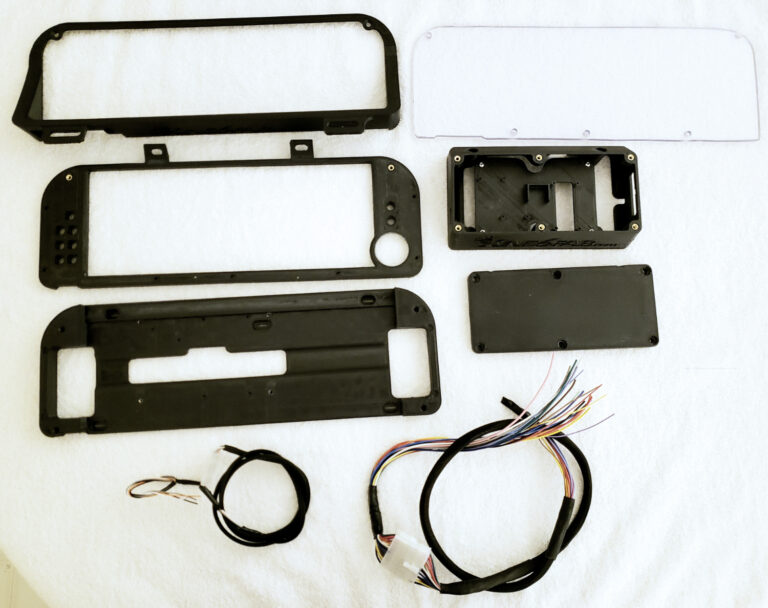
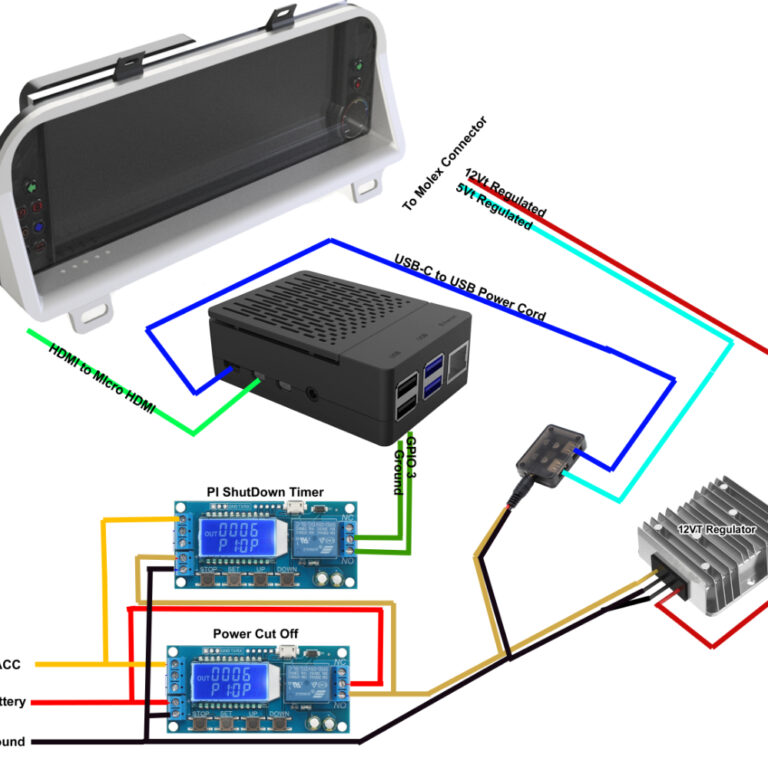
Such as if you are using software indicators you will either need to tap into or reroute the stock gauge cluster indicator wires to a location that your Raspberry Pi will be located at in order to utilize them.
If you are using external indicators you will need to cut the according indicator wires from the stock gauge cluster connectors and wire them to your designated pins on the 18pin Molex Connector.
For either indicator situation you will also need to route a HDMI cable to the gauge cluster area to your raspberry Pi or other device so that it can connect to the display.
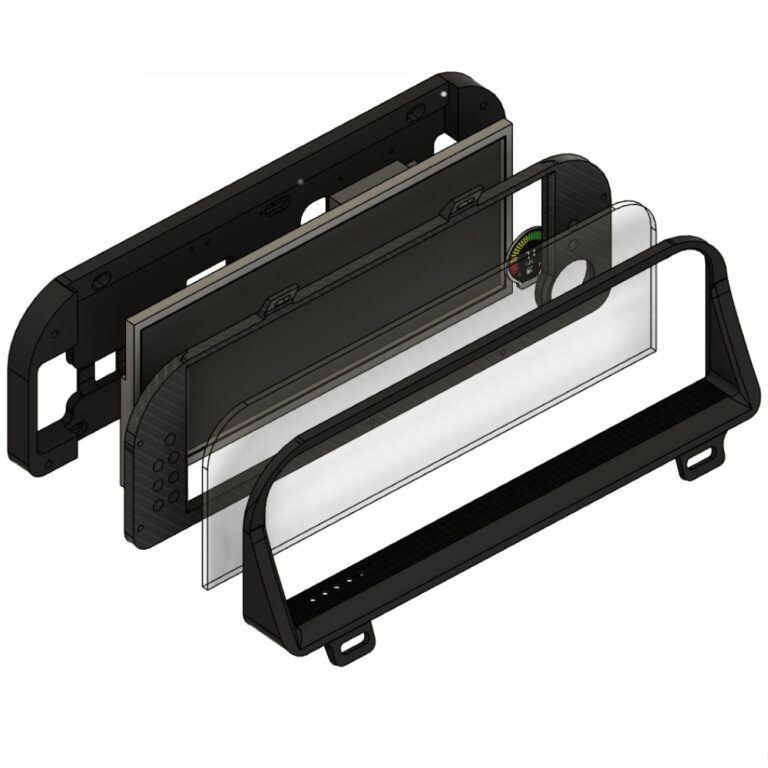
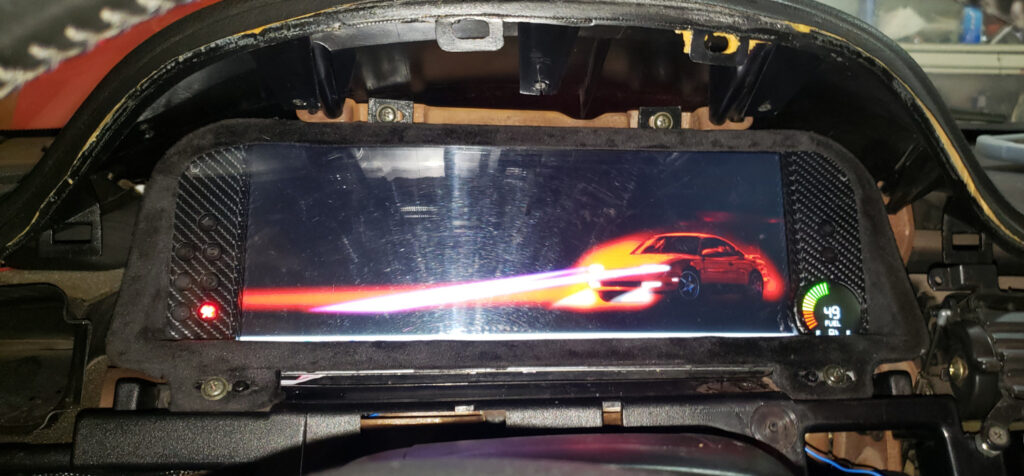
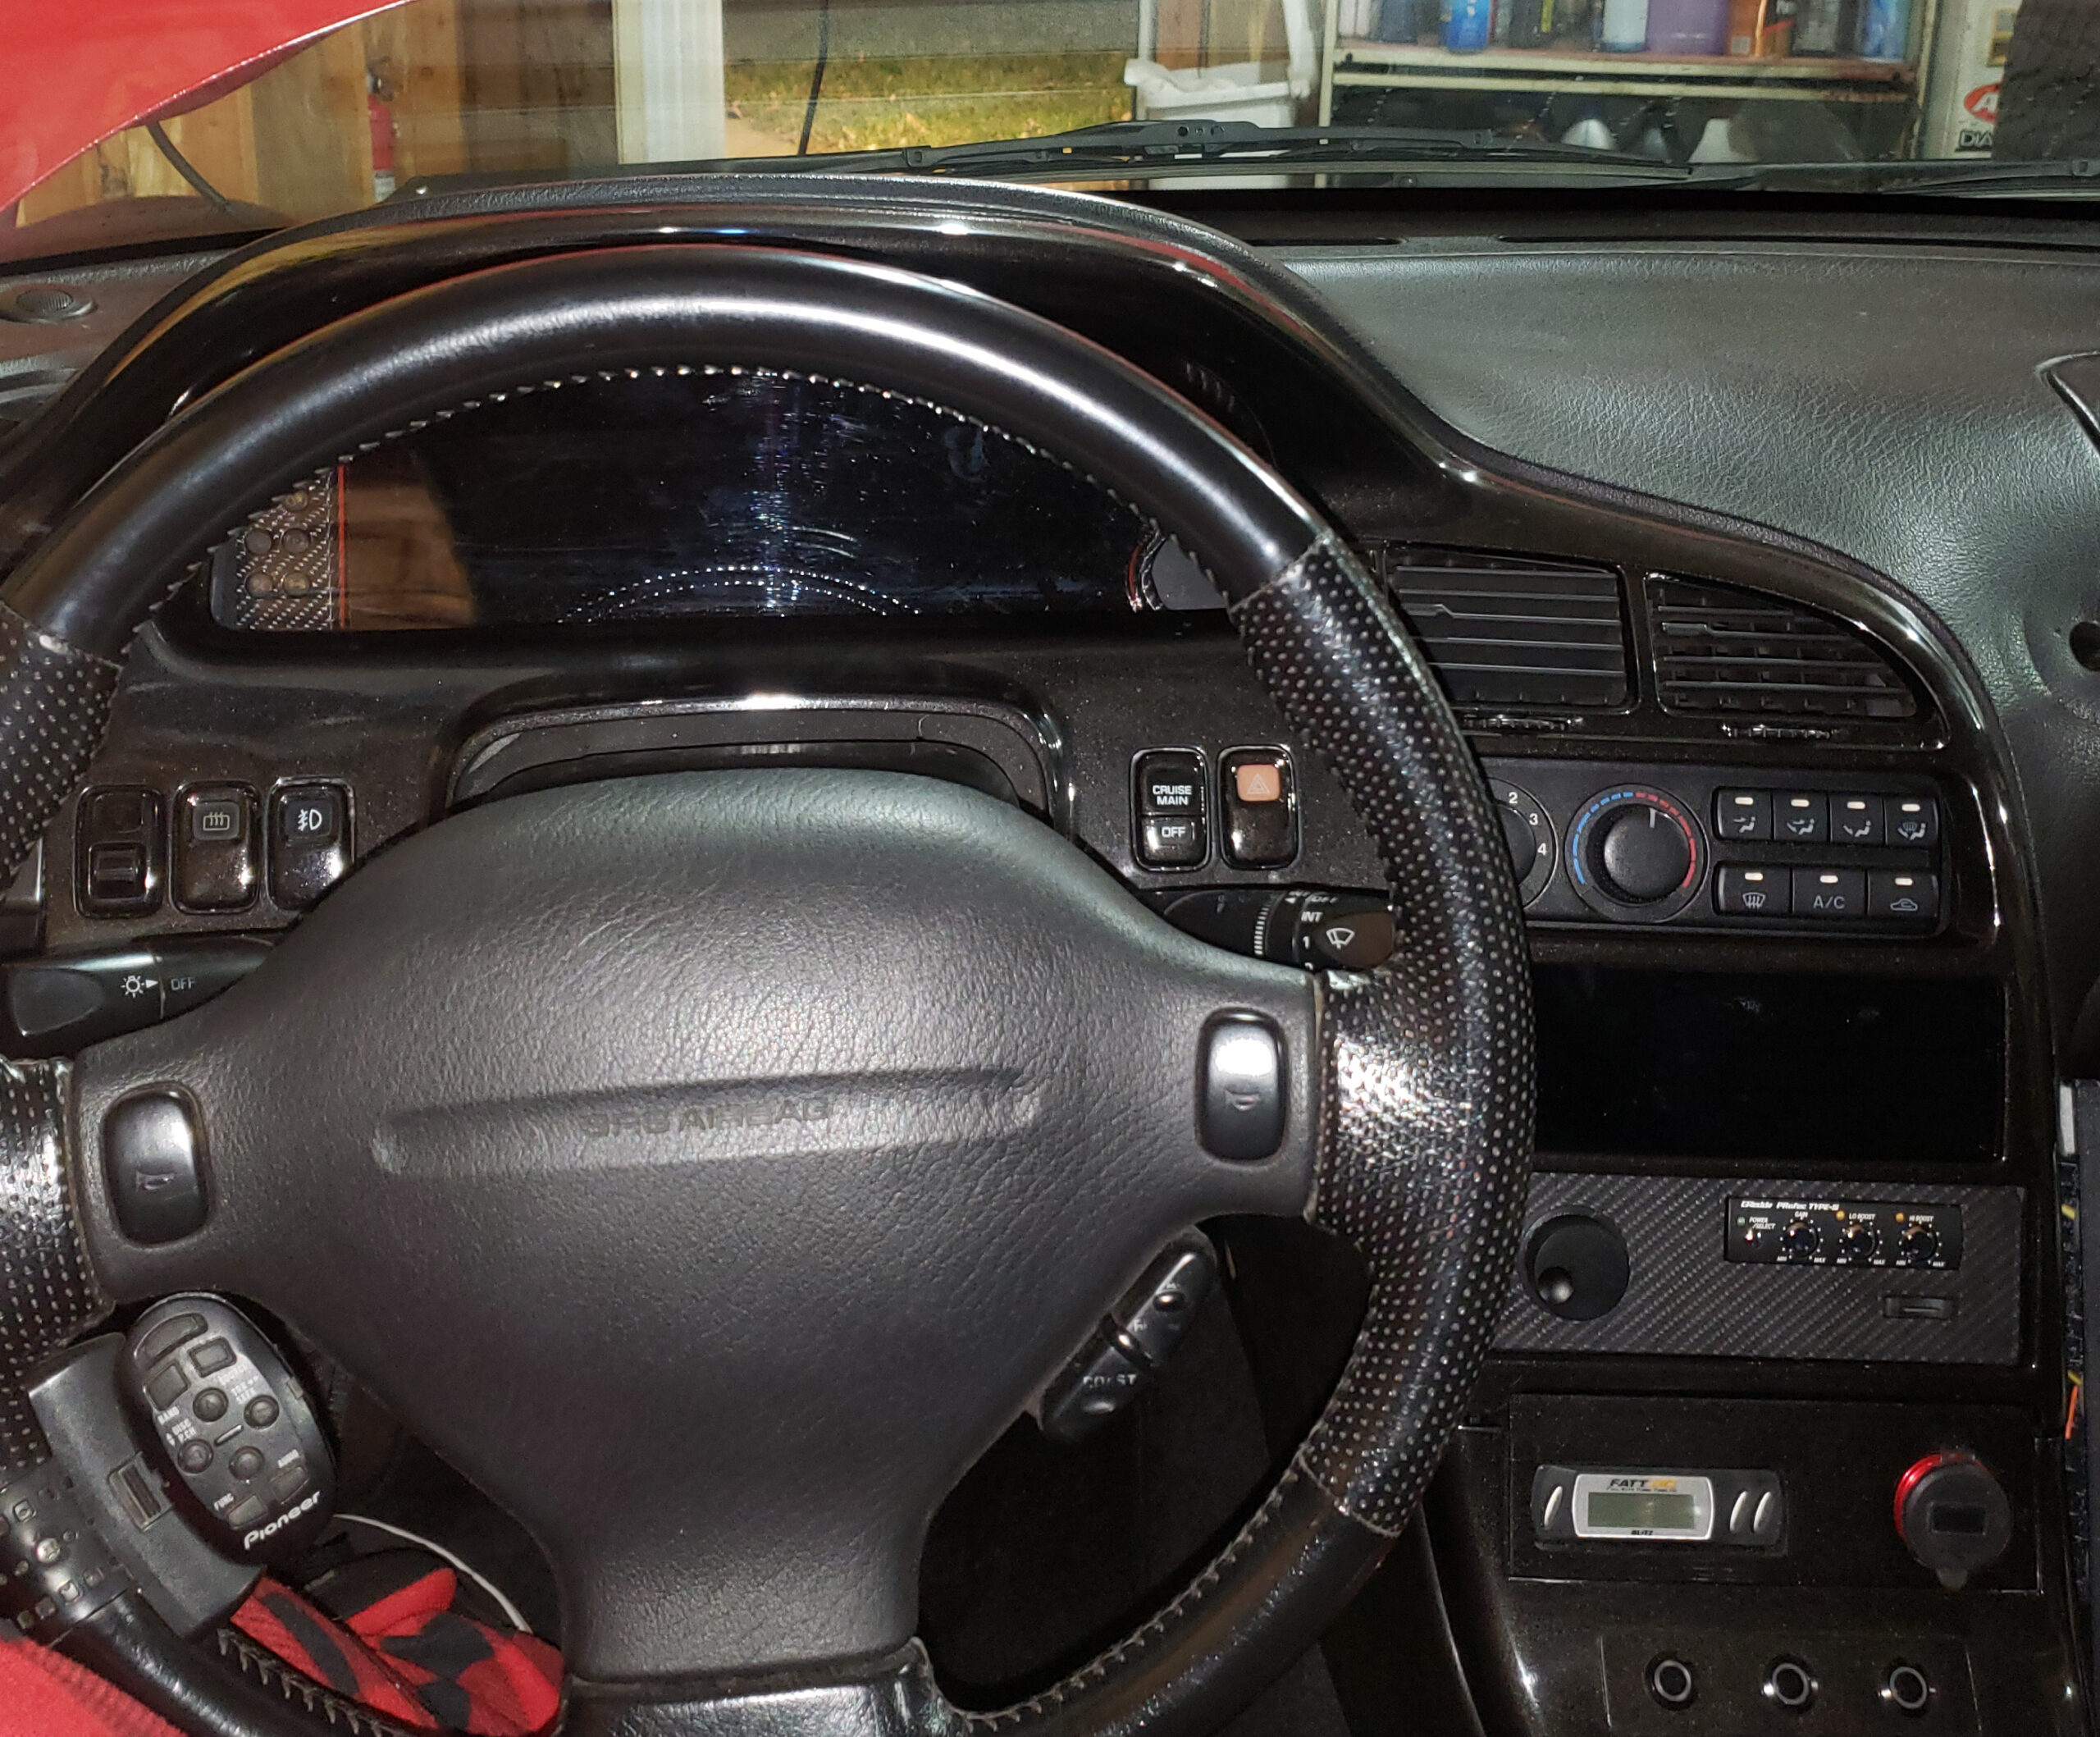
The dash display fits into the factory position using the existing screws.
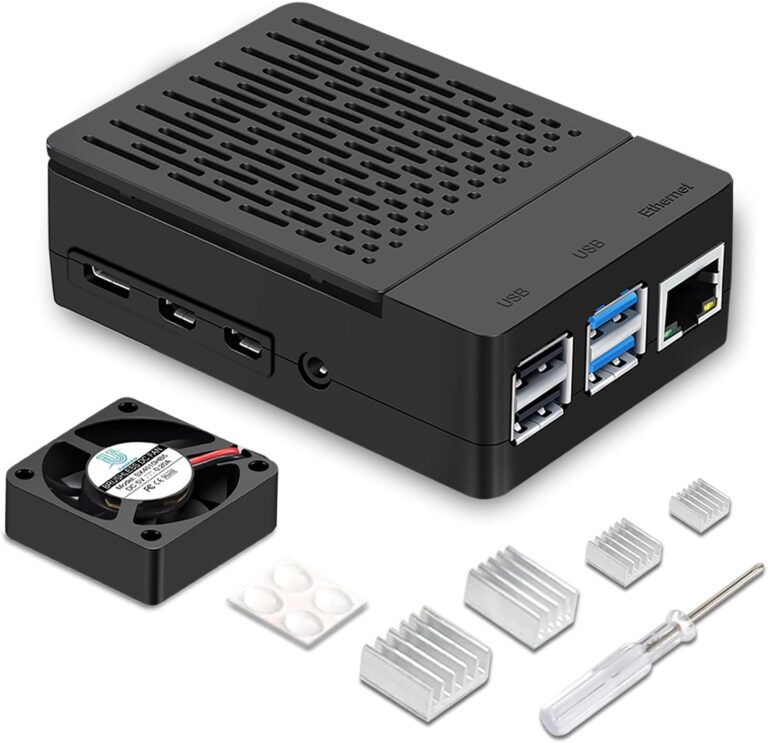
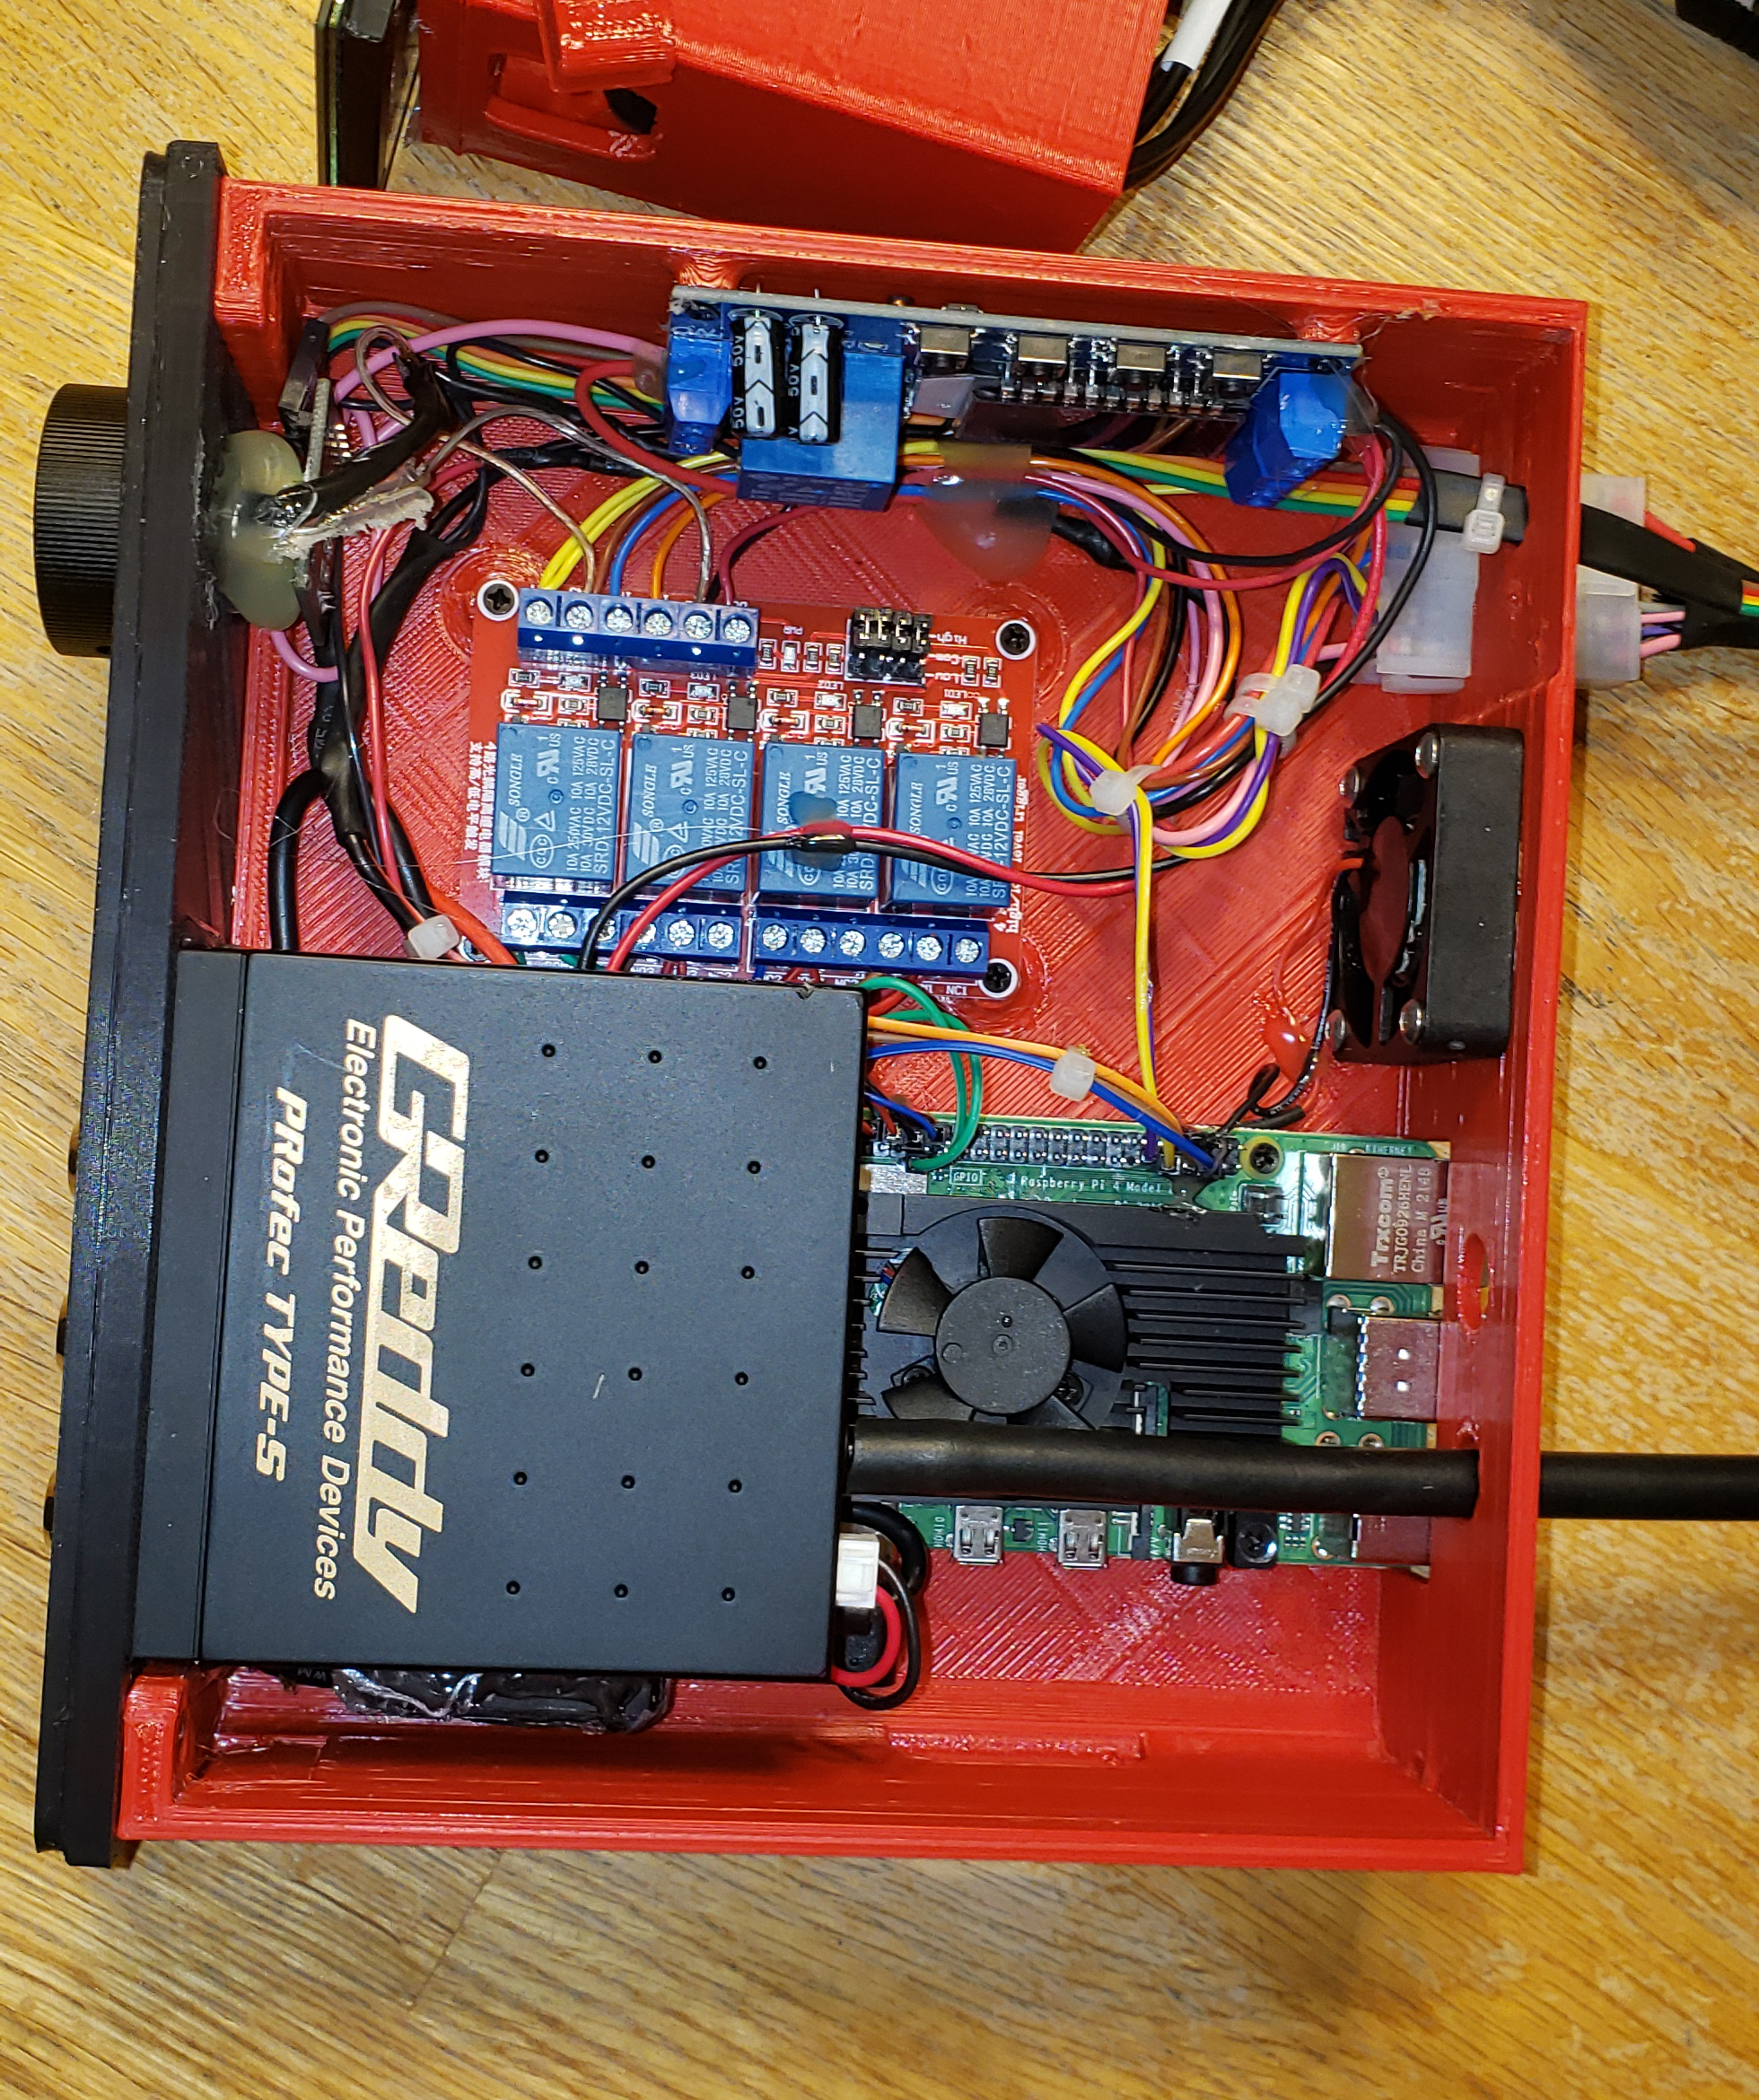
Mounting and Locating a Raspberry Pi
Over the process of R&D on the dash display I mounted the PI in various locations, none of the first few locations served practical but they were convenient for access to the PI without disassembly of the dashboard parts.
The first location was the passenger foot well area, this worked well but I was afraid of being kicked by a passenger.
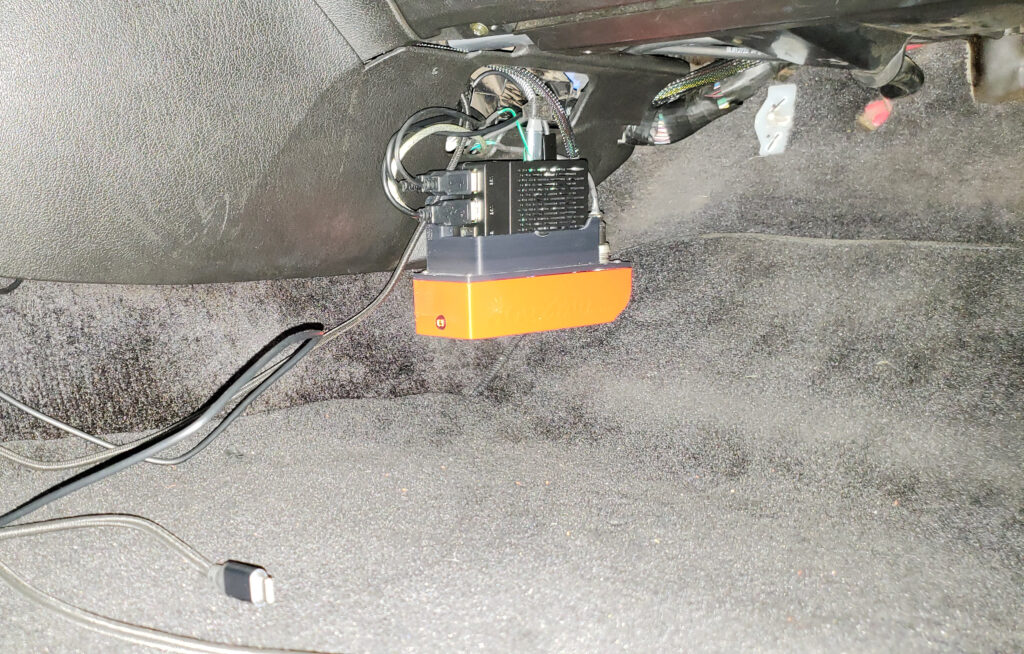
The second location was under the passenger seat. This worked well but it proved to be a pain to access the SD Card or any wiring additions.
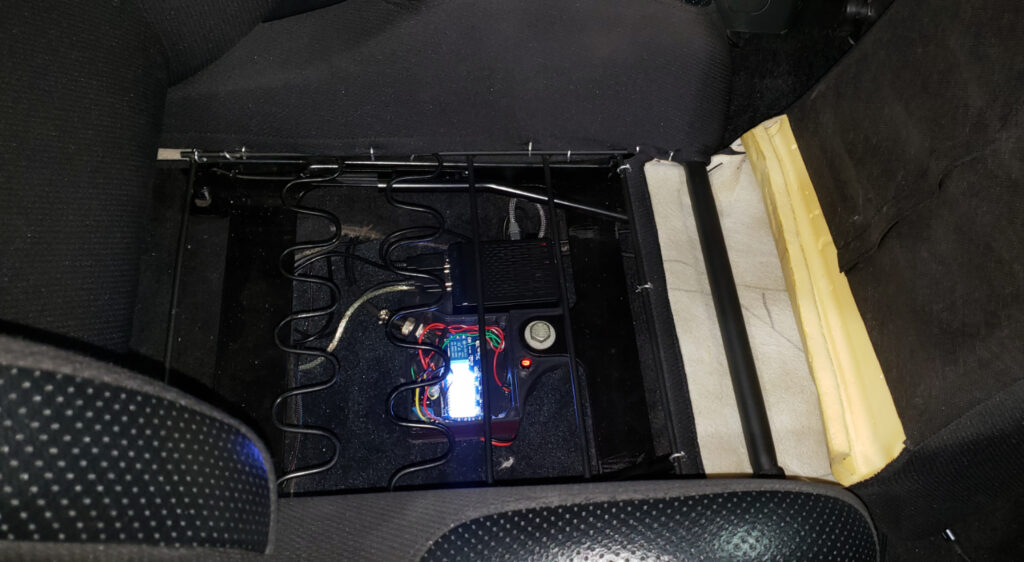
The final location was a DIN location in the center of the dash. This proved to be convenient with a SD Card reader extender but very inconvenient for any additions or diagnosis of the PI. I settled on this location because overall it feels the most professional and also serves the purpose of mounting the boost controller and radio volume knob.
How useful was this post?
Click on a star to rate it!
Average rating 0 / 5. Vote count: 0
No votes so far! Be the first to rate this post.
We are sorry that this post was not useful for you!
Let us improve this post!
Tell us how we can improve this post?