Trailing Arm Installation
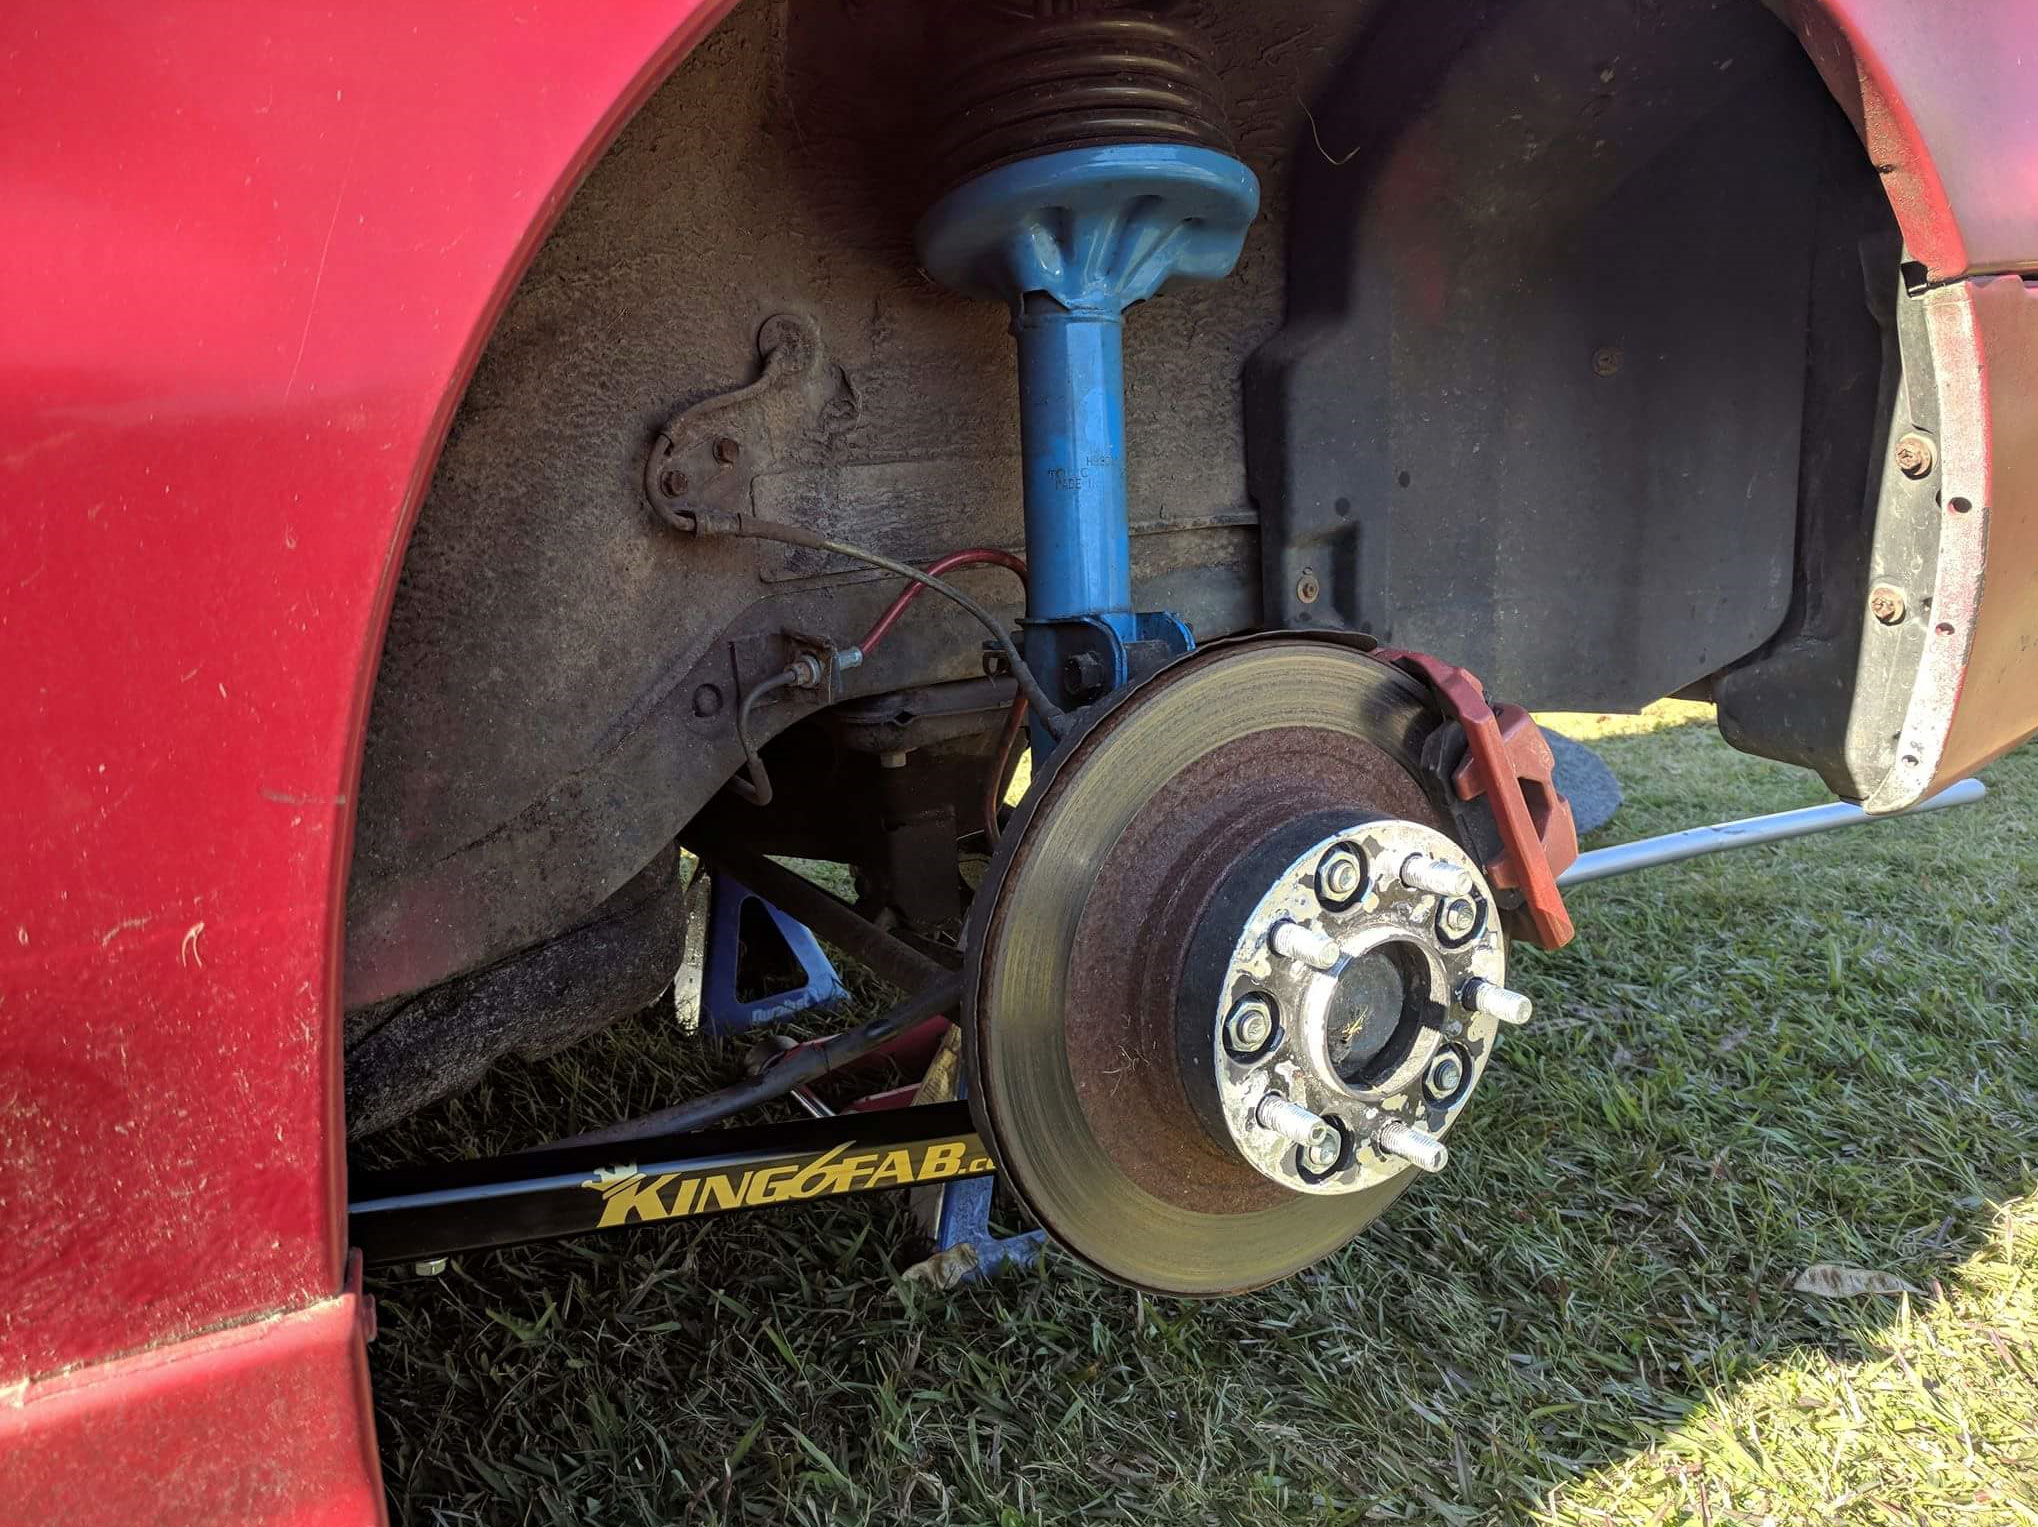
This installation is rather straight forward, King6fab put this guide together to aid in common issues that come up when removing the OEM trailing arms. It is not required to remove either of the rear wheels to swap your trailing arms , however it may make it easier.
This process typically takes up to an hour or less with moderate tool accessibility.


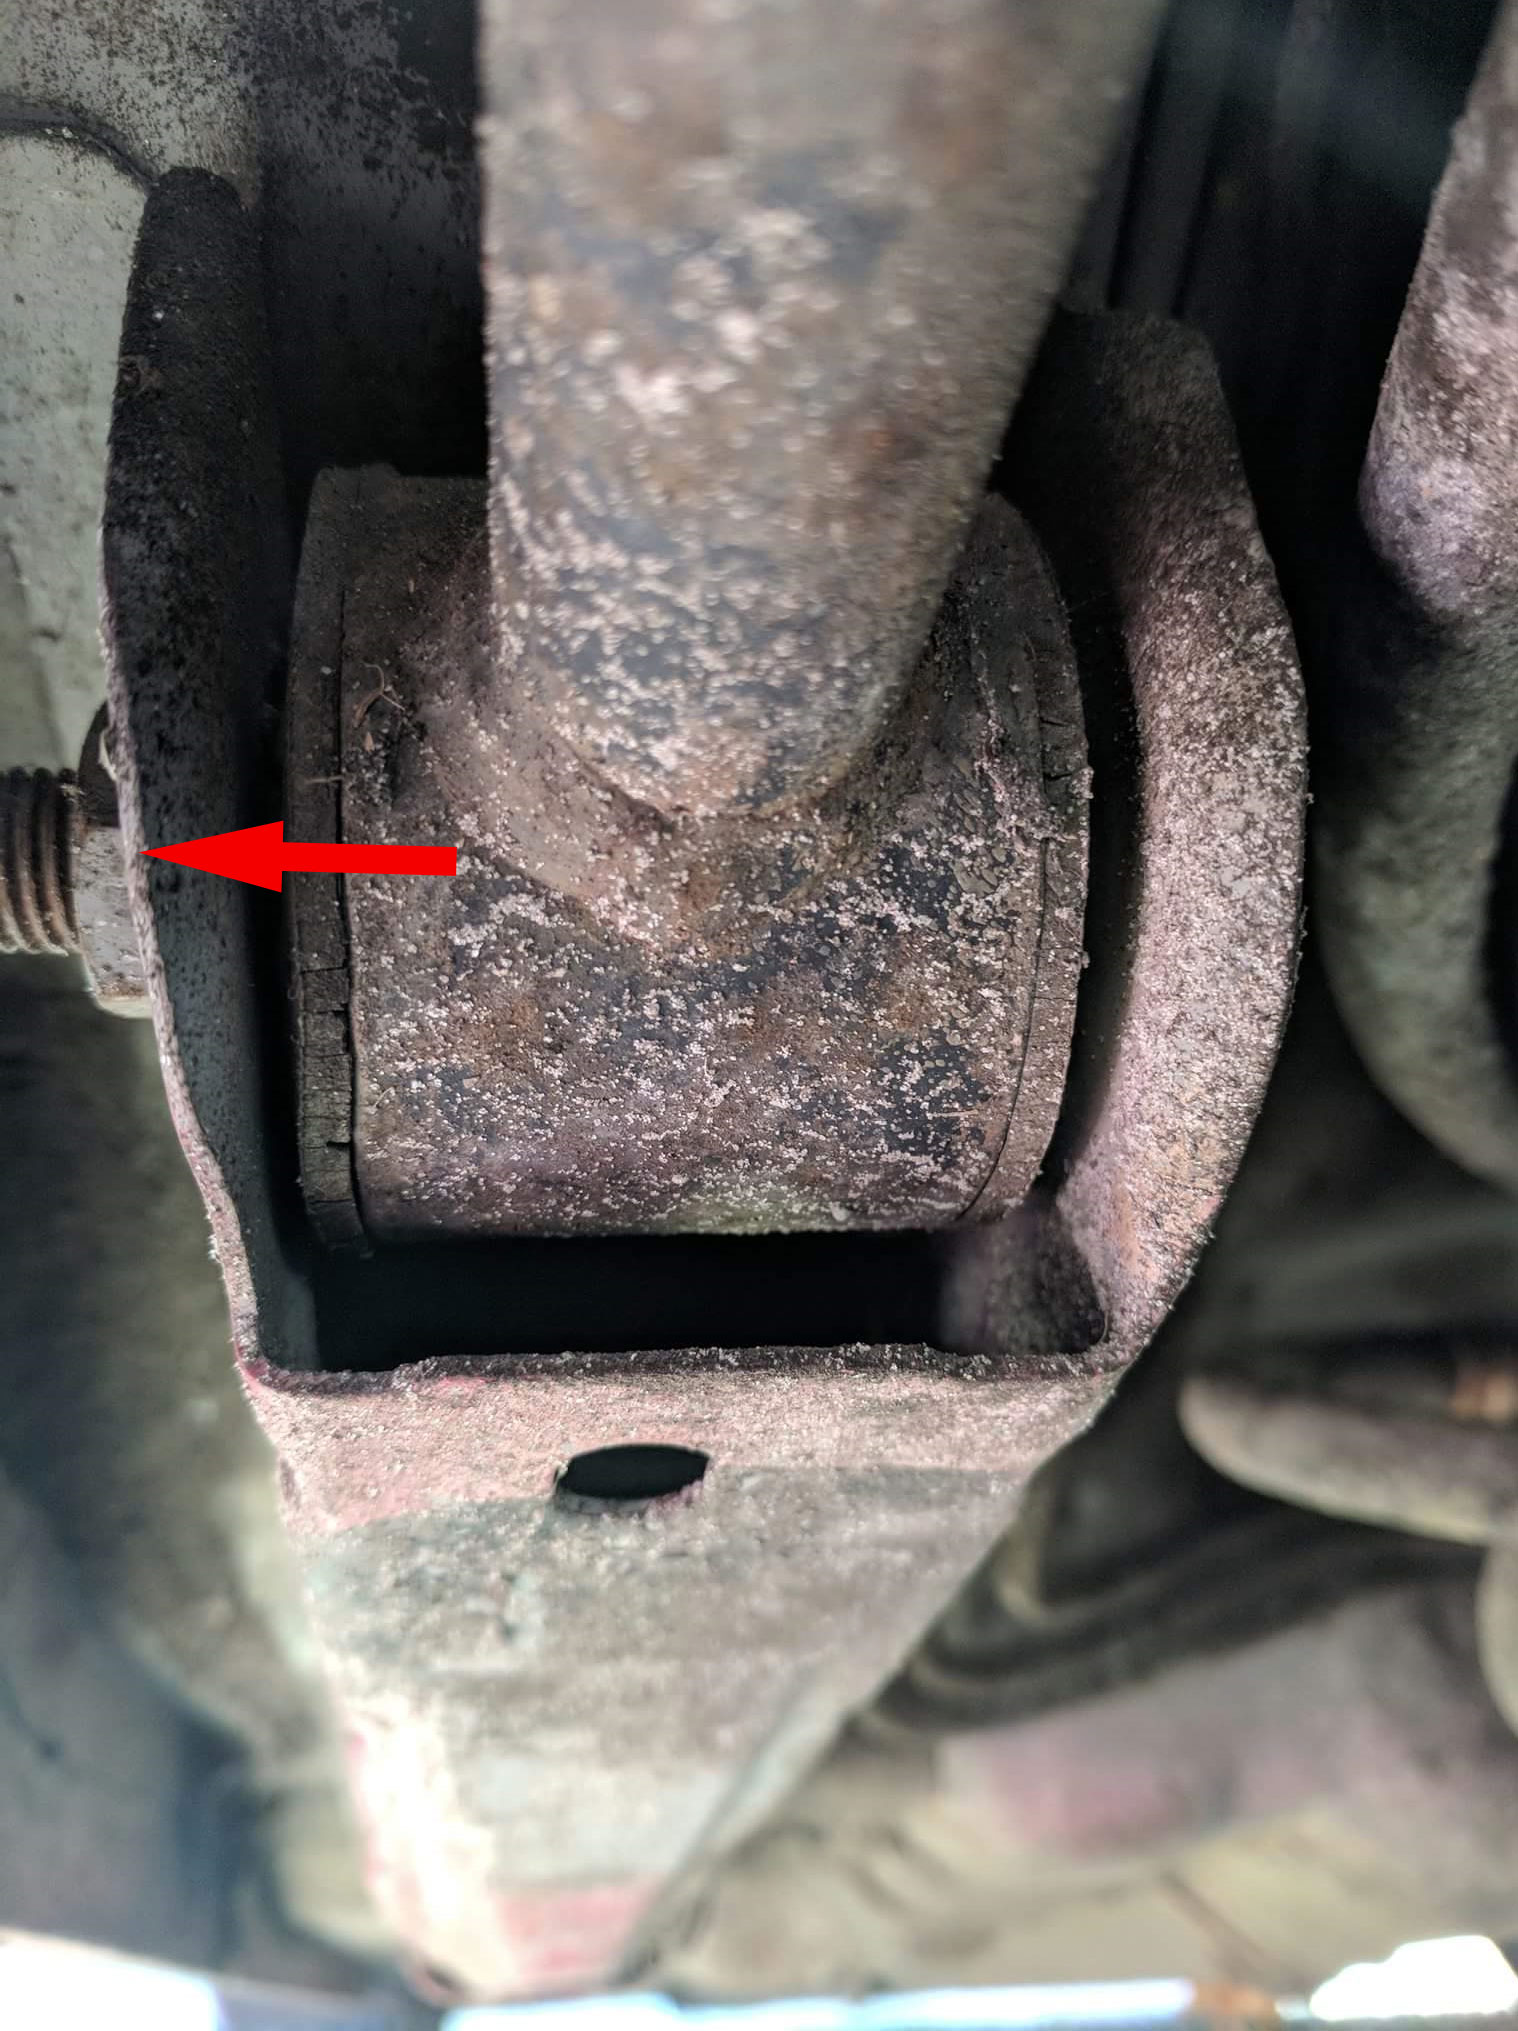
First you will need to jack up the rear of the vehicle, the fastest approach to this is by jacking in the center of the rear sub-frame, get the vehicle high enough that you can work under it then place jack stands on each side of the vehicle. OEM trailing arms are usually very rusted and degraded and could be a hassle to remove. Start with the front shackle bolt, this bolt has a nut on the backside towards the pinchweld, and its tack welded to the body of the vehicle. Often this tack weld nut will break loose when trying to loosen the bolt, its recommended to have a wrench or vice grip on the nut while torquing on the bolt.
Tack Weld nut Problems – If The tack welded nut should break loose on you and/or is stripped out, your best approach towards this is using a cold chisel and hammer against it or a cut it off with a dia-grinder.


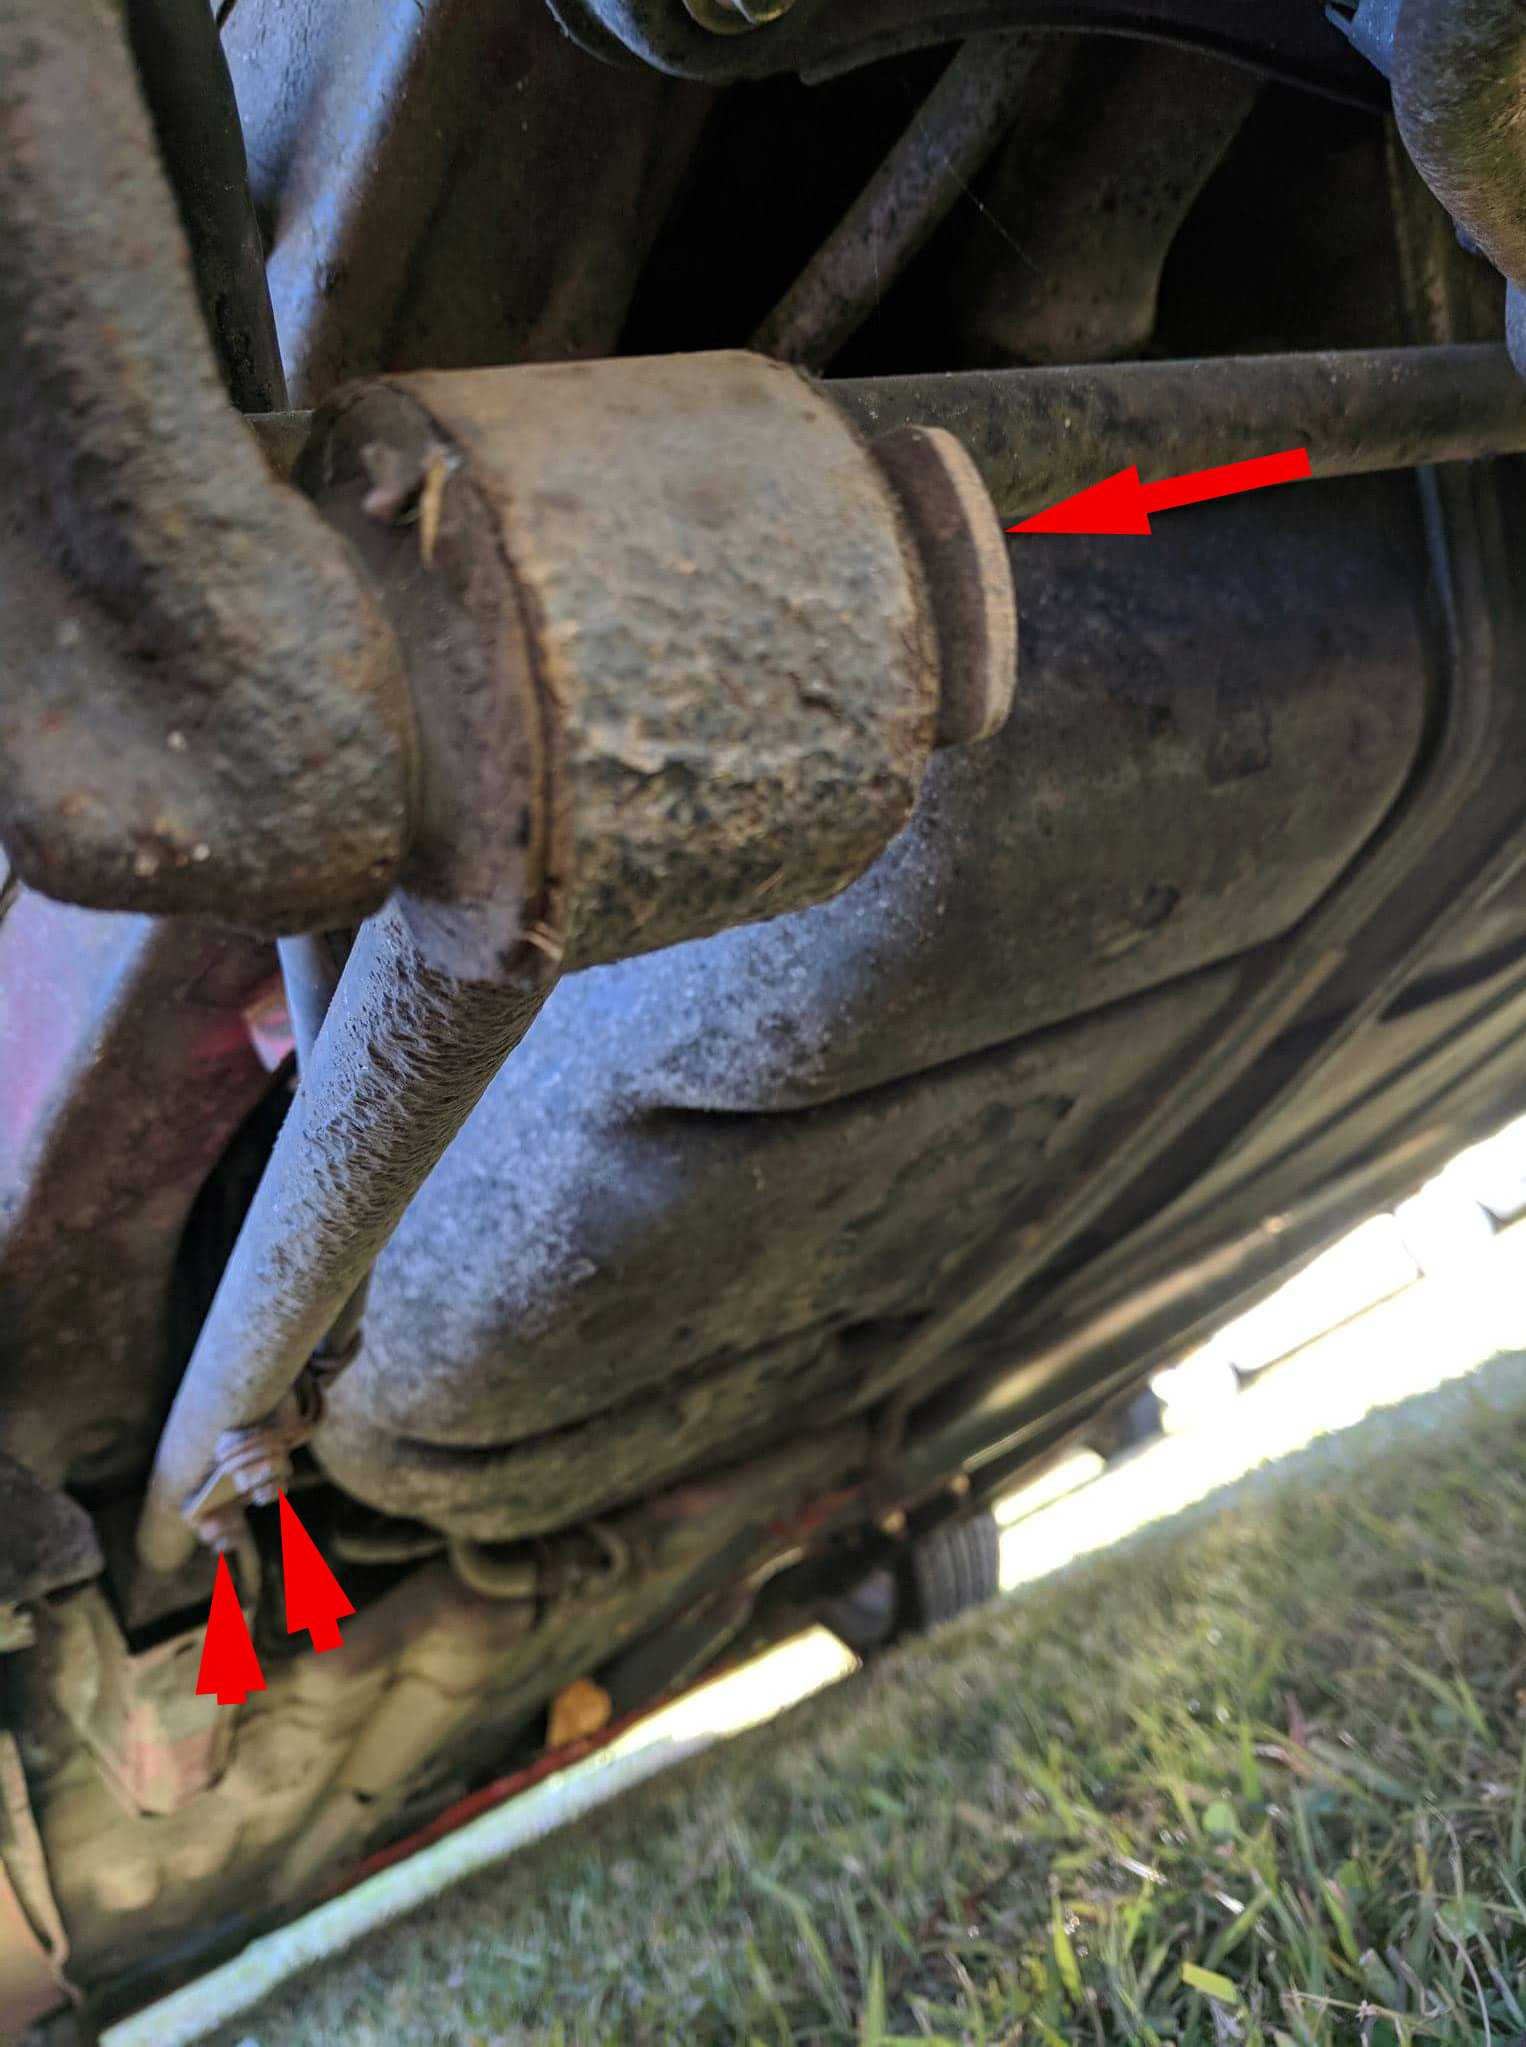
Next remove the bracket for the Ebrake cable, often these nuts will bust off studs when attempting to remove them. This wont be an issue later on as the King6fab trailing arms come with new zinc coated hardware. Proceed to remove the large collar nut that connects the trialing arm to the hub, this usually comes off without fail, but should you have trouble try using a torch to heat the nut up prior to removal.


Now your ready to install the King6fab Trailing Arms, before bolting them on, be sure to clean up the mounting brackets with steel wool/emry cloth and apply anti-seize to aid in future removal and decreasing chances of road noise. The orientation of the Ebrake Cable bracket is compeltely up to you, it can be on top or on bottom. We specifically decal the trailing arms so that they can be mounted in a position decided by the customer, decal towards the inside of the vehicle or outside of the vehicle.
