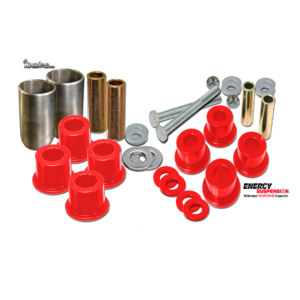
DIY Polyurethane Control Arm Bushing Installation

Jack car up and place support jack stands. Remove both left and right wheels.
Step 1a. Remove bolt that secures the lower ball joint to the spindle/hub. Using a ball joint tool (or pry bar) separate the lower control arm from the spindle/hub.
Step 1b. Loosen and remove the lower nut for the front sway bar end link.
Step 1c. Remove the 17mm head Bolt that secures the front part of the control arm to the sub frame.
Step 1d. Remove the (2) 17mm head bolts that secure the rear control arm bushing assembly to the sub frame. Now remove the control arm from the car.

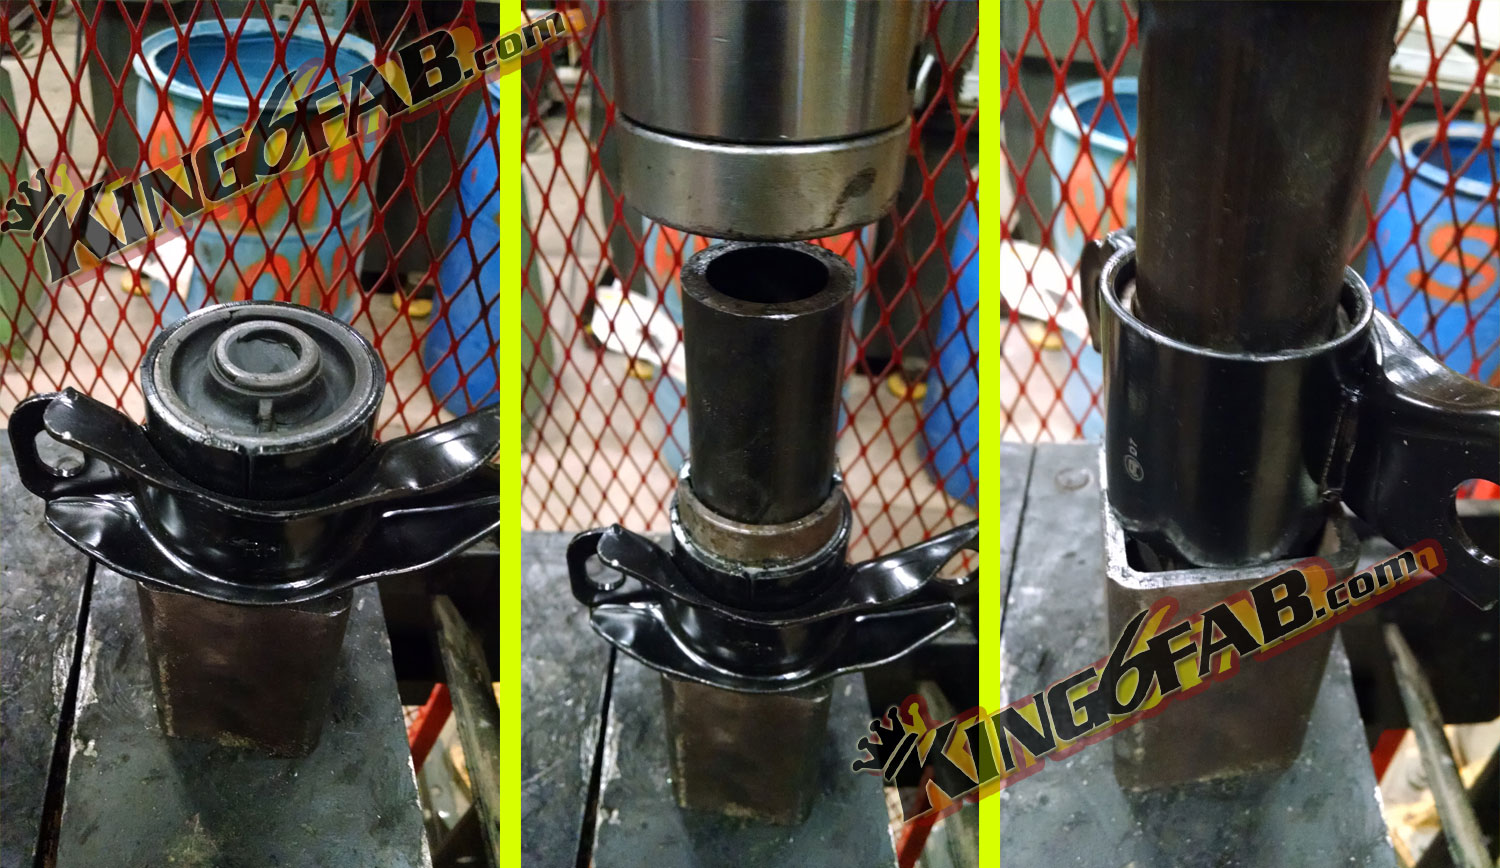
Removal of the front OEM rubber bushing can be done with a Shop Press with Most brand bushings. If a Press is not available or the bushing cannot be pressed, using a vice (if you do not have a vice, secure the control arm to an object such as table or platform) Clamp the control arm so that the front bushing points towards the ground, the rear bushing will be In the air. Using a torch, Heat the outer housing of the control arm that holds the bushing. The metal will get hot, possibly glow, once the bushing begins to catch fire and/or smokes, stop heating and blow out flames. Have a ballpein/claw hammer ready to strike the bushing out from the control arm. IF the bushing does not dislodge, continue heating and repeat.

Some Control Arm brackets are able to accept the K6F as being Sleeve pressed in as shown in the above picture. However there are many brands of OEM brackets, and many will require you to weld the sleeve into the bracket. Below is shown 2 finished brackets that have had K6F Sleeves welded in. Once the brackets have cooled off for to a bare hand handling temperature, You can Insert the Polyurethane bushings by either a press or hammer. First push in the Polyurethane bushings on both ends of the bracket, then press in the sleeve.

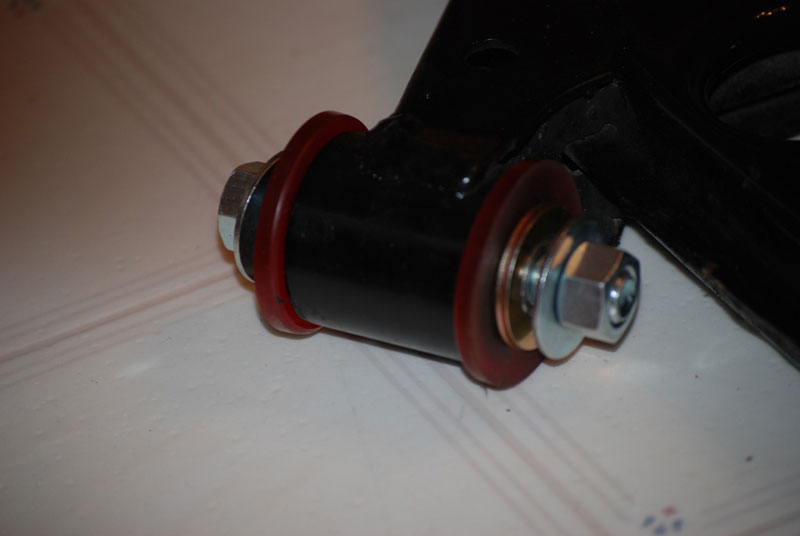
Removal the rear bushing assembly from the control arm. This is held on by one large nut. Once removed, slide the large washer (¾”/19mm opening) onto the shaft, then slide the K6F Poly Bushing Assembly onto the shaft, next the smaller washer (½”/13mm opening) onto the shaft. Now using the existing nut and washer, tighten the bushing assembly to control arm.
(see diagram)

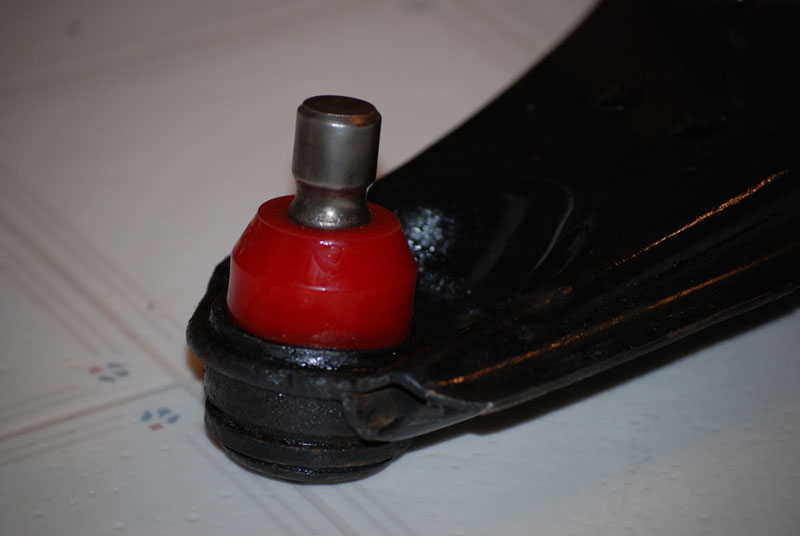
Installation of the Poly Ball joint dust boot – Using a pick you can normally remove the stock boot, if it does not want to come off, simply cut it off with a utility knife. Spray the Poly dust boot with wd 40 on the inside or coat it with grease. With a little force it will stretch over the ball joint shaft and onto the base.
