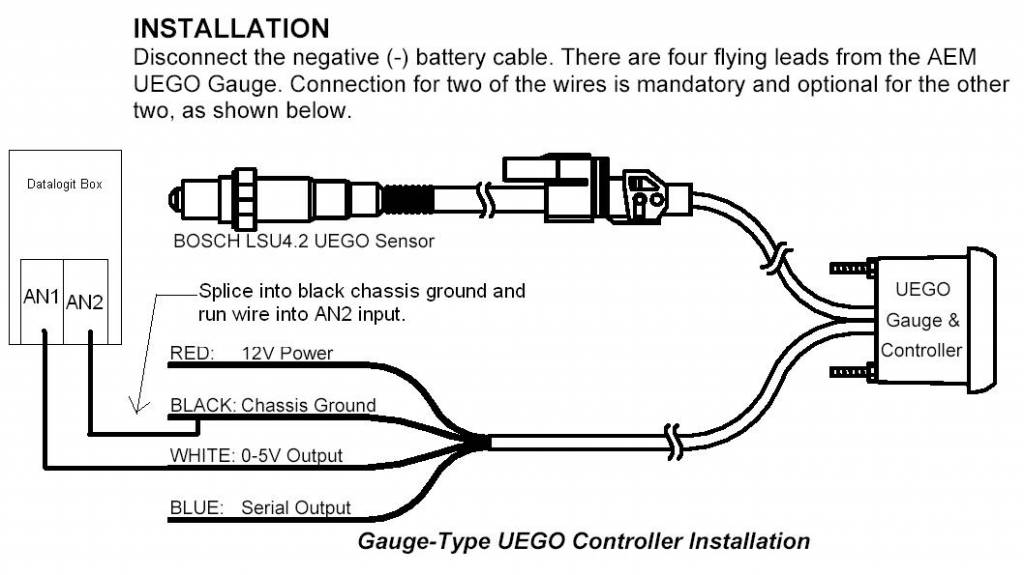
Megasquirt Plug and Play 2
Getting Started
Put all of this at the top of your buy list, I wouldn’t even start thinking about buying a turbo or blow off valve yet, go right for this big buy straight away. It can be installed on the NA version your car and even help increase NA power and fuel economy. With this as your first buy you can gain some experience using Megasquirt and tuner studio.
This MSPNP guide was made with the idea that each step could be done separately, Each step can be a one day project while allowing room to use the car as a daily driver.
Plan for Ignition and Fuel Control.
I recommend getting the Plug and Play Megasquirt system.(MSPNP) Get the fully mspnp2-mm9093_2 built system or save some money and get a Do It Yourself Plug and Play kit (DIYPNP), either way this is your first purchase. Ill forewarn you that if you have zero electrical experience and have little patience do no try to build one because your basically building a little computer – it is possible to mess this up and cost you more.
Basic setup vs Optional Upgraded setup
This is completely up to you. With MSPNP2, all you technically need is the unit itself that’s already setup to work on your engine using the distributor ignition. Yet, the distributor ignition is the most known pitfall on these engines, It will cause you the most problems, random stalls and no starts. There is a way to reduce these problems using HEI ignition igniters and aftermarket coil packs as documented on this website in the how to section, however these parts still have a tendency to fail and your using a mechanical style ignition with parts that wear out over time.
To do the basic setup, you simply only need to follow the information provided with your megasquirt unit, leaving the stock ignition system alone.
The Optional upgrade setup eliminates the stock ignition system for a wasted spark coil pack driven system, that while costly is going to be more reliable and deliver better performance overall. Including quicker start up, and higher spark output. This option allows for a variety of coil pack options such as coil on plug and AEM Smart coils, for this how to im only documenting what I have used witch is a 6 tower coil pack, or rather 3 coils.
This first page describes the initial setup of the MSPNP2 for the basic option, at the bottom of the page is a link to Optional Upgrades
Intake Air Tempature Sensor
This will allow you to remove the stock VAF from the intake system.
Intake Air Temp Sensor (IAT)
All that you will need For the MSPNP is a GM Open Elemant IAT Sensor, This simple sensor will allow you eliminate the oem VAF from your intake piping.
These sensors can be found almost at any local parts store. Try to find a sensor with a premade pigtail and a 3/8 NPT weld on bung in the metal type your using for inter-cooler piping. Diyautotune.com sells the exact sensor with pigtail that and bung you will need.
This sensor will need to be personally wired to your MSPNP Options port . One wire of the IAT pigtail will need to be grounded, the other wire will go to IAT sensor input on your MSPNP options port. Recommended wire size is 16-18GA, run both wires to the MSPNP, use any ground location near the ECU.

GM IAT Sensor and Connector
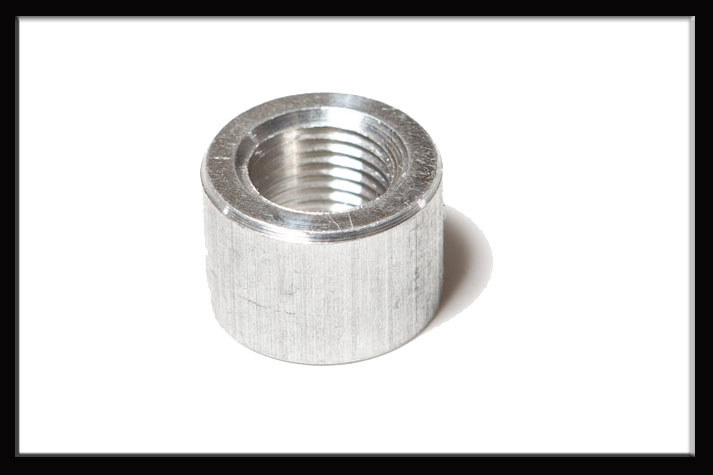
3/8 NPT Sensor bung
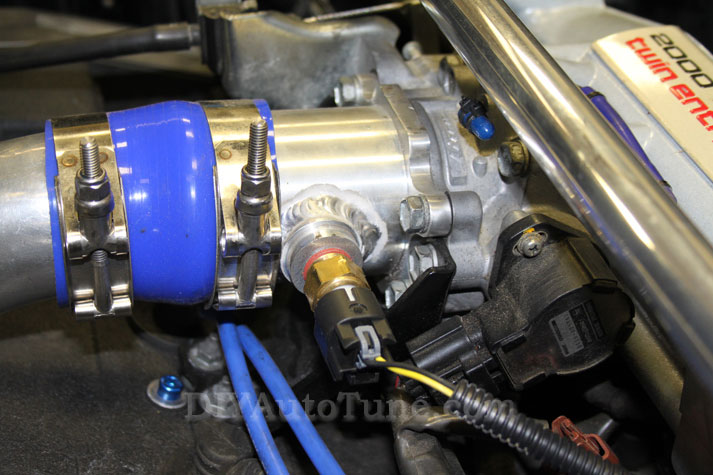
IAT Sensor Mounting Location
This IAT sensor should be placed in the piping just before the throttle body, about 6 to 8inchs from the throttle body its self, after the blow off valve.
Wideband 02 Sensor
Air Fuel Ratio Monitoring
Wideband AFR Monitoring
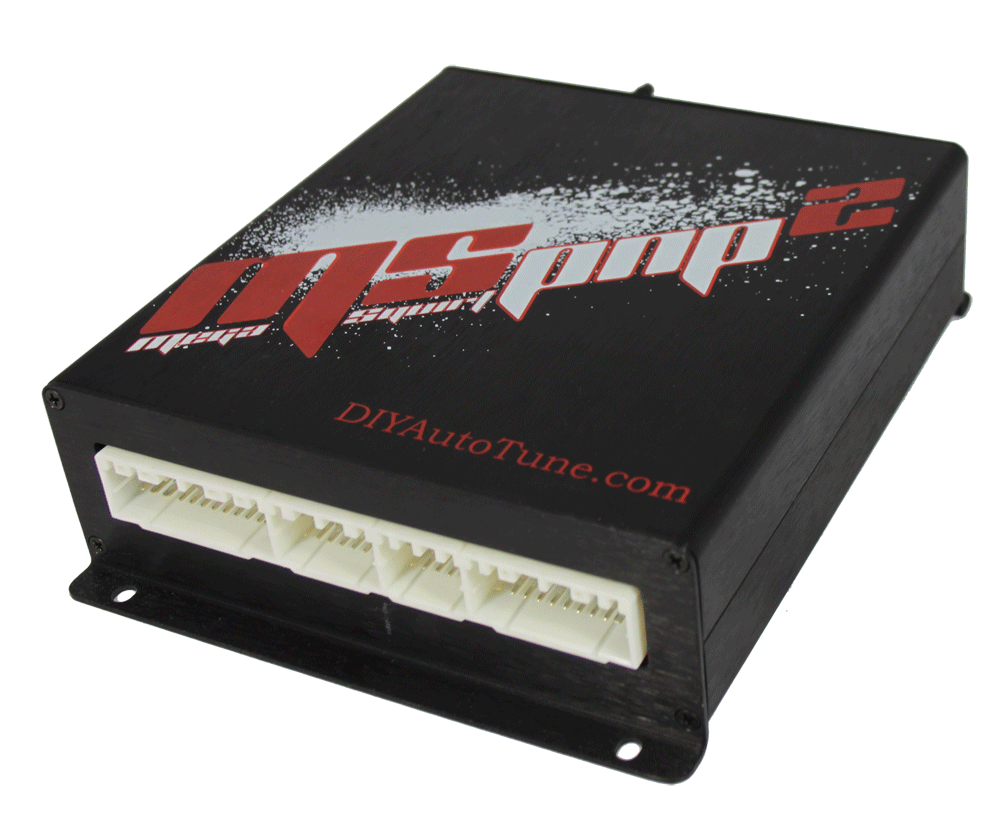
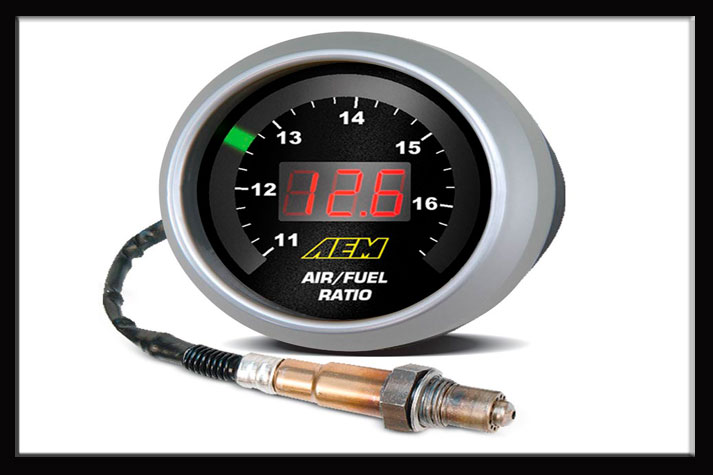
You will need this to monitor what your engine is doing, especially under boost. This will also tie in to your MSPNP for right on the money AFR tuning. Any wide-band will do, however AEM units are affordable, and supported well with the MSPNP. I have found the UEGO to be a easy to install setup and it has presets in Tunerstudio so all you need to is select the model you have. I am using the AEM 30-4100 for my application.
Wideband to MSPNP2 Wiring
The white wire out of the gauge harness is the wire that you need to route to the options port on the MSPNP.
Wideband Sensor Mounting
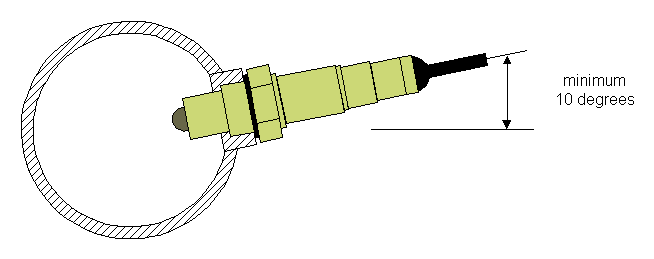
The wideband sensor should be installed at a 10deg angle, after the turbo and before the catalytic converter. Aprox 16in to 36in after the turbo will net the best results. On my setup I am not using a catalytic converter so I chose to place my wide band in the position where the converter would normally be.
At This Point Follow the install guide from Diyautotune Instructions Link
