Removal
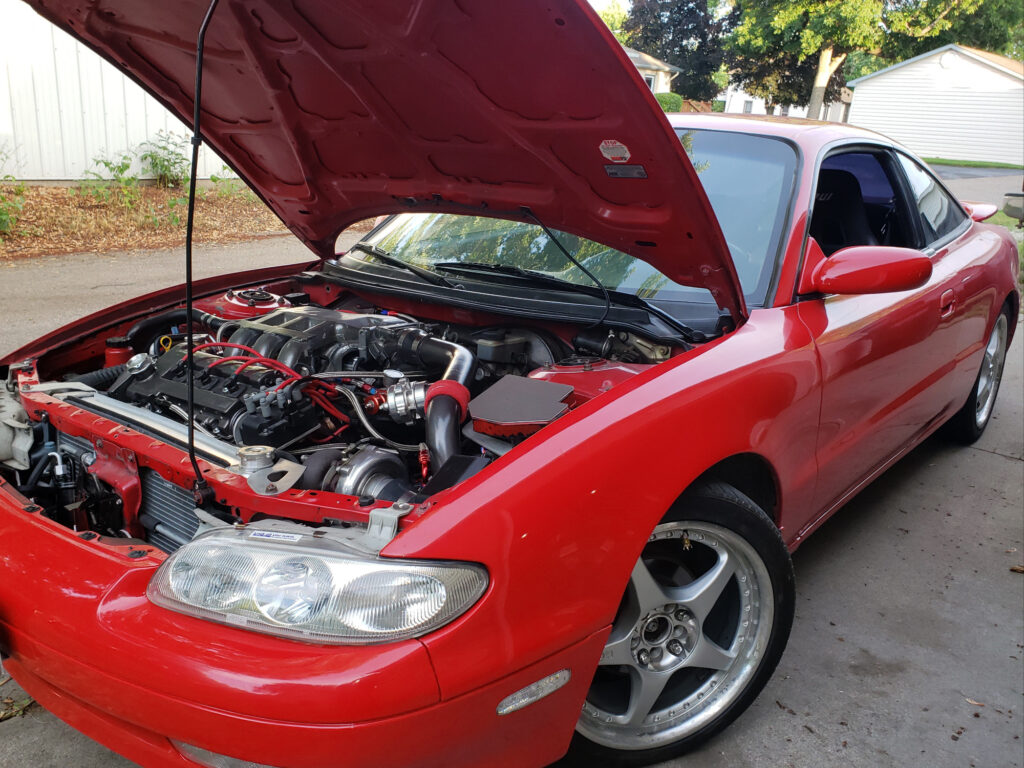
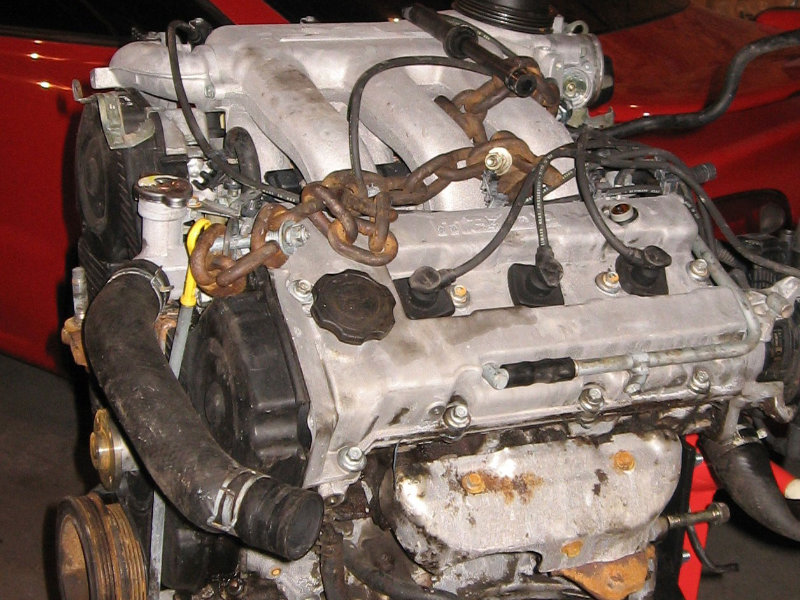
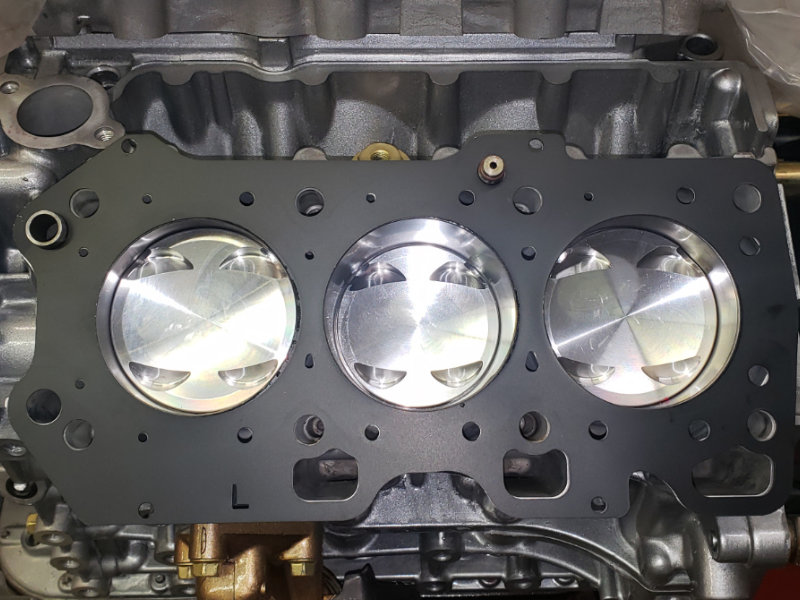
Out with the old, in with the new. The motor I had in this car prior to the forged engine build blew a ring land off piston 2 years earlier. As something to get me by I swapped in a used piston from my engine build motor, It ran well but I did not trust it.
With the forged build sitting on the engine stand for over a year, I decided its time to get this project underway and finished.
First was getting the old motor out. I've done this dozens of times before, but this time I was much carless because I'm doing this during weekdays, after a 8-10hr work day. It was more about getting this done, not getting it done cleanly.
As result, lots of fluids ended up on the floor and so floor dry was utilized a lot.
Install
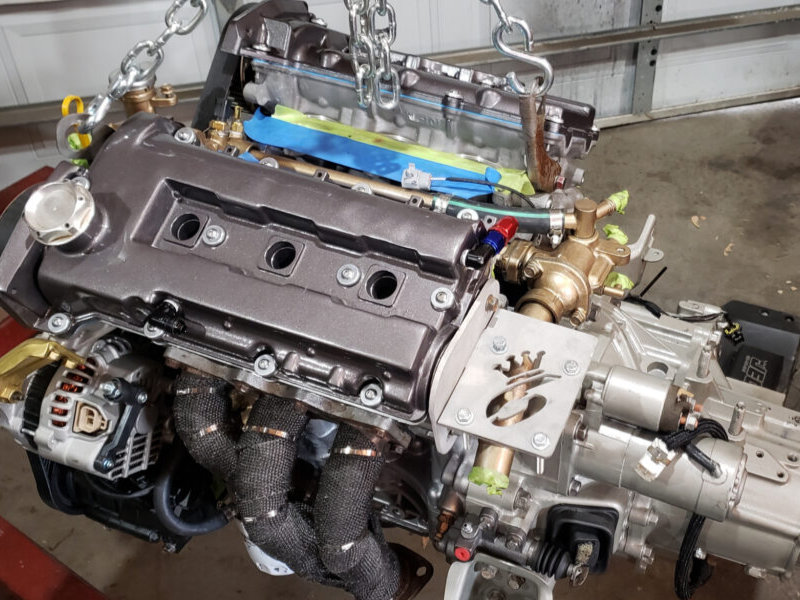
The Forged Motor in all its glory. Mounting the transmission is much easier when the engine is out of the car. Before putting the transmission on however I brought it to work first, pressure washed it then painted it with a Silver Nason fast dry.
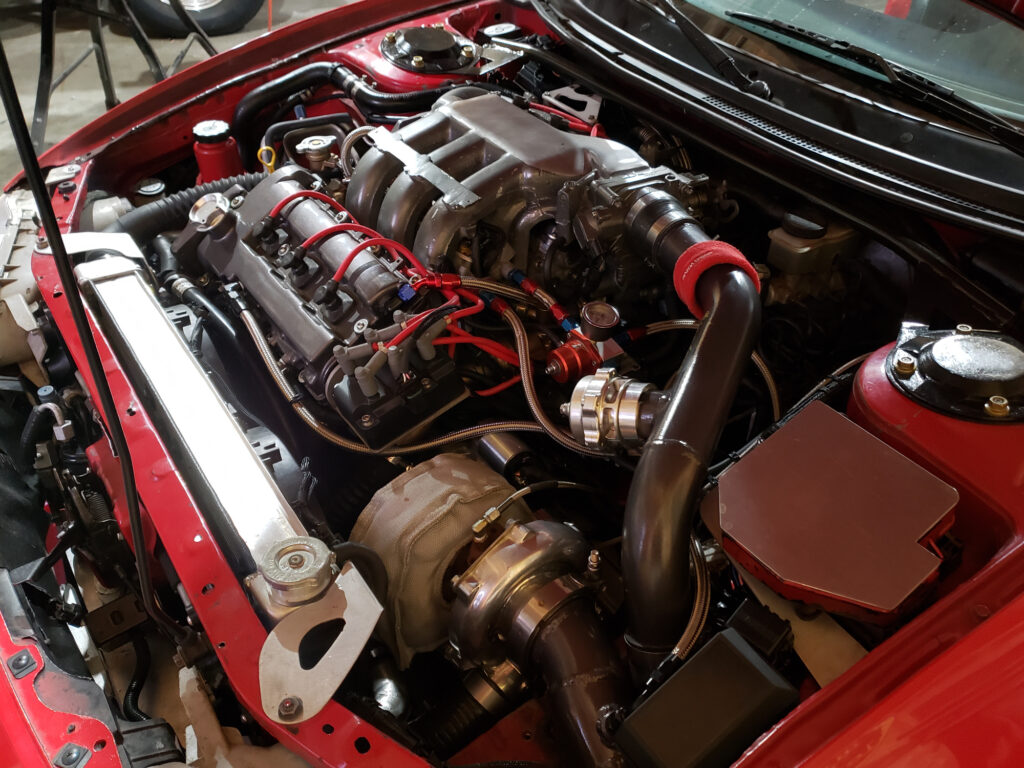
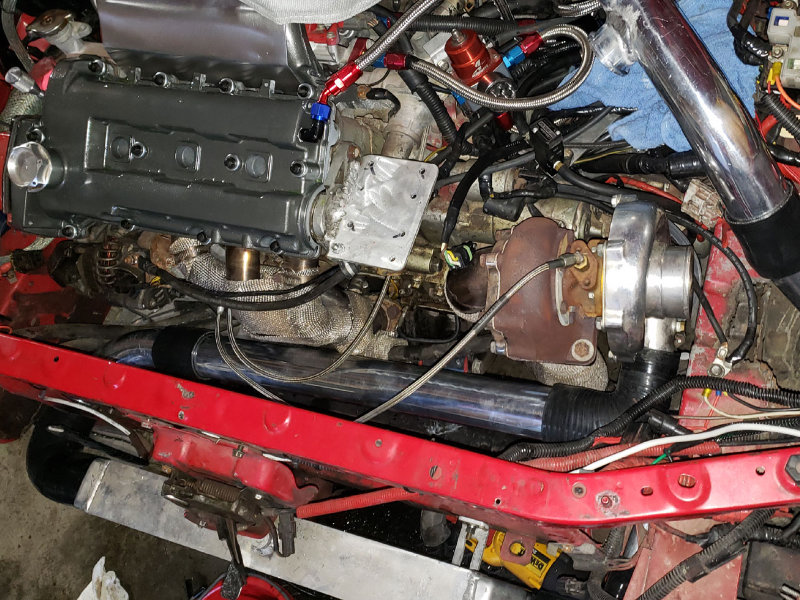
The headers were wrapped with black exhaust wrap and stainless ties. I decided to just get a new alternator, everything else is new, why not. All the coolant hoses were replaced with Gates green strip hoses. As with other things I figured why not put a new clutch slave on, dip stick handle and crank sensor.
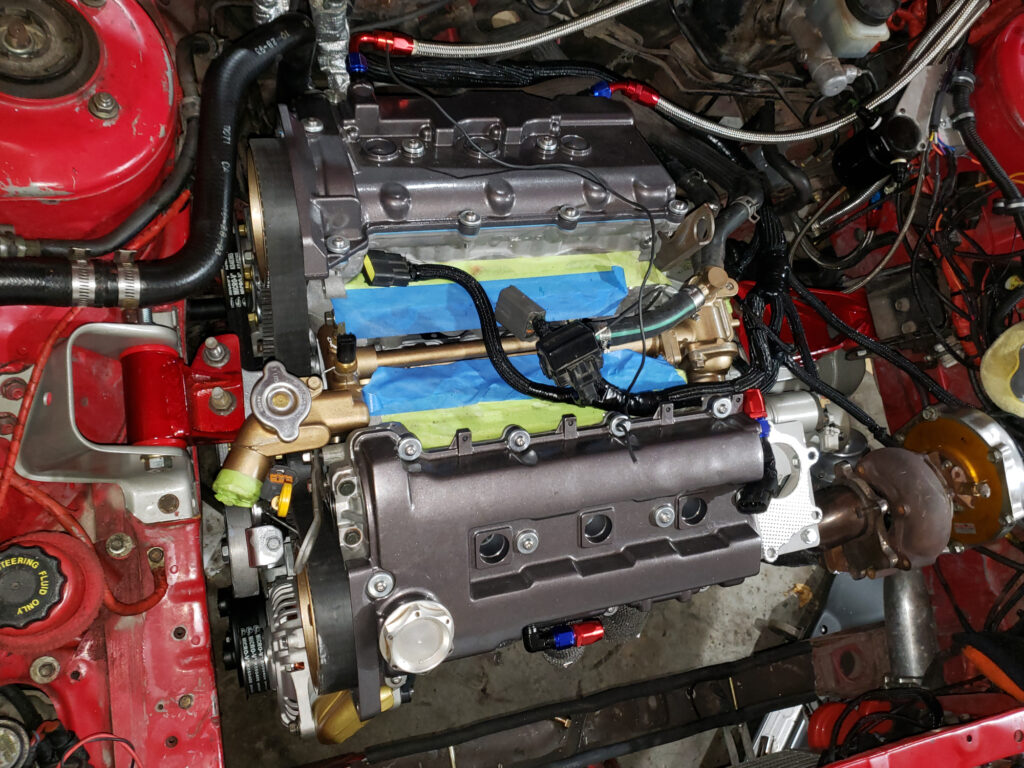
The engine installed, motor mounts were sand blasted and painted in Imron Elite Volcano Red.
I really went the extra mile with this build so I unwrapped all the electrical and wrapped it with braided sleeving and flush cut cable ties.
For the turbo drain hose I gone away with the barb nipple and rubber oil hose and used a nylon stainless braided 10an hose with JIC flare fittings.
I also threw away the stock clutch line and used a stainless braided line from master to slave, this improved the feel of the pedal a lot.
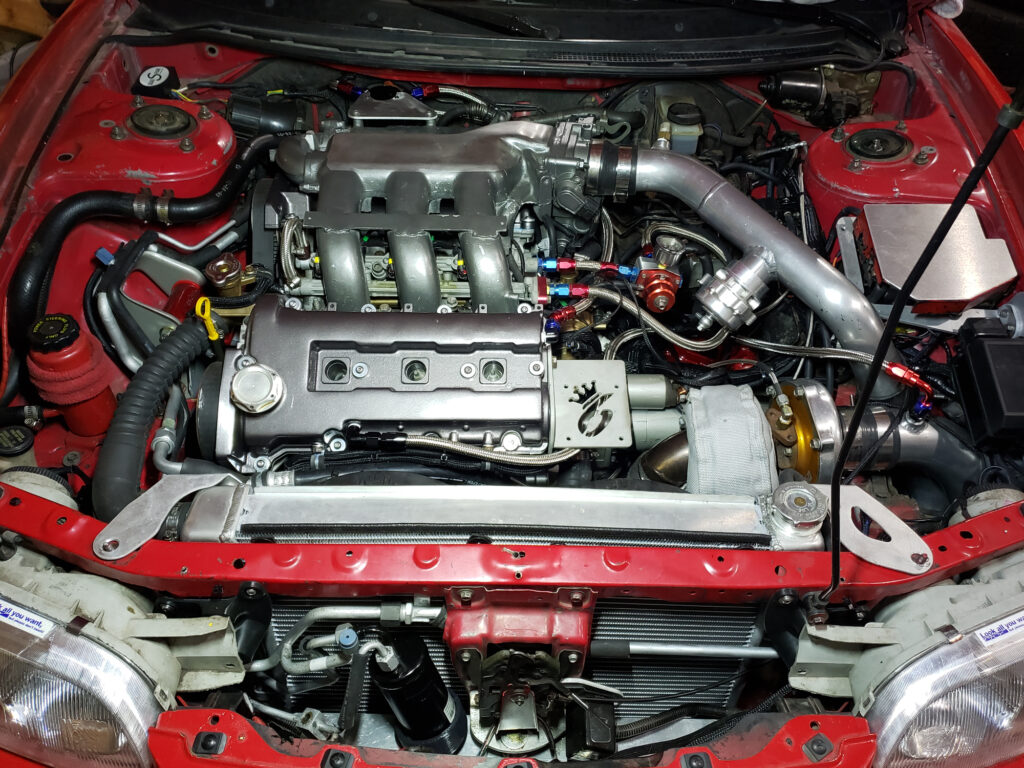
Completed
This time around I decided that I have to much money wrapped up into this thing not to have A/C, So added it back.. new condenser, compressor, and used A/C lines. Puttin the condenser back on the car was a challenge and required some 3D printed brackets. The A/C lines also needed to be tweaked to allow the A/C Dryer to clear the Intercooler. I 3d Printed a “butt” for the Dryer to rest on the Intercooler, preventing any wear.
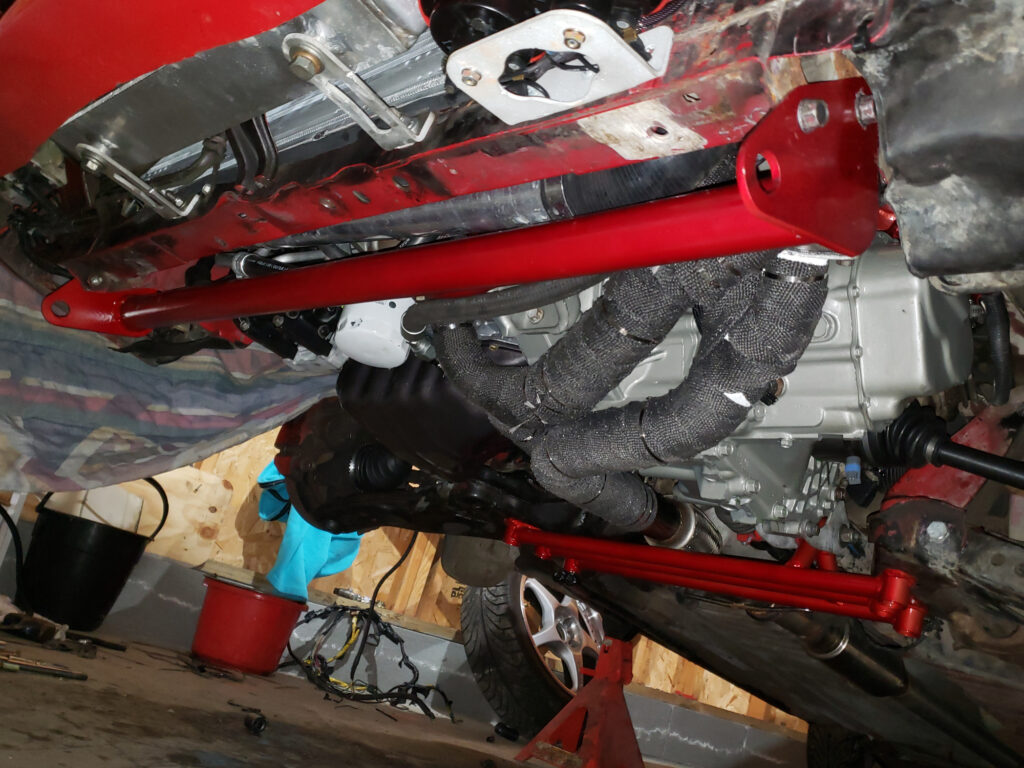
Well sorta completed, it turns out I had an oil leak that took quite some time to pin point, but I found it seaping out the oil pan where it it creates a half moon shape between block and transmission. It seems the RTV didnt seal completely. This resulted in dropping the oil pan, witch requires removing the rear cross member and turbo hot pipes.
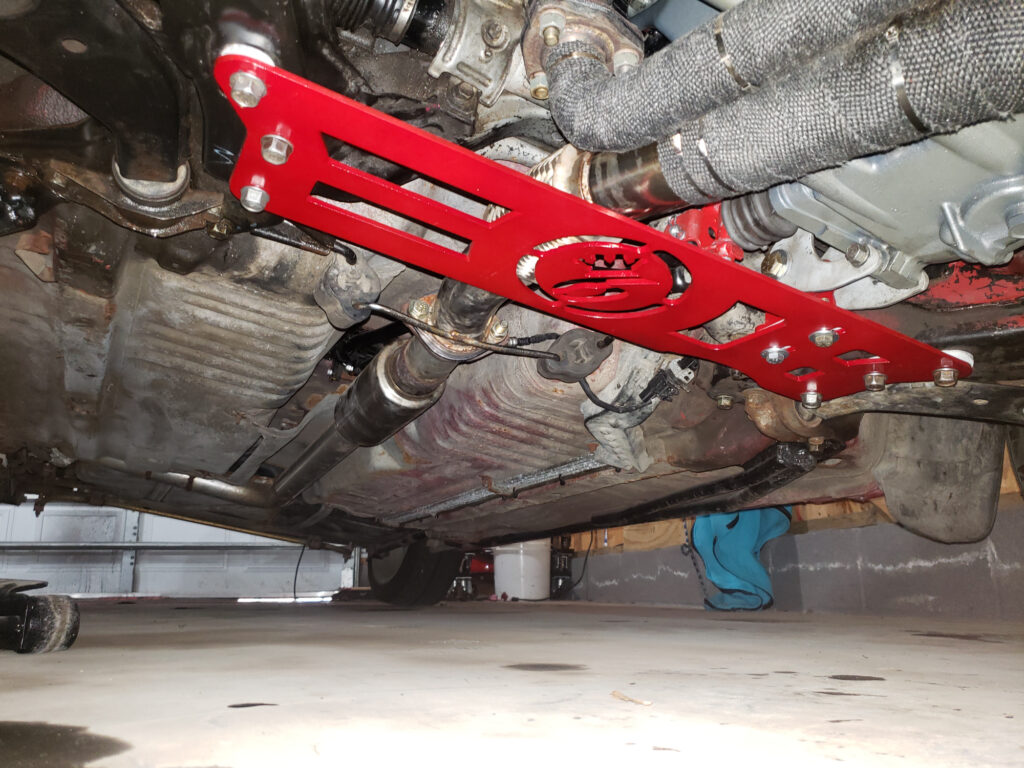
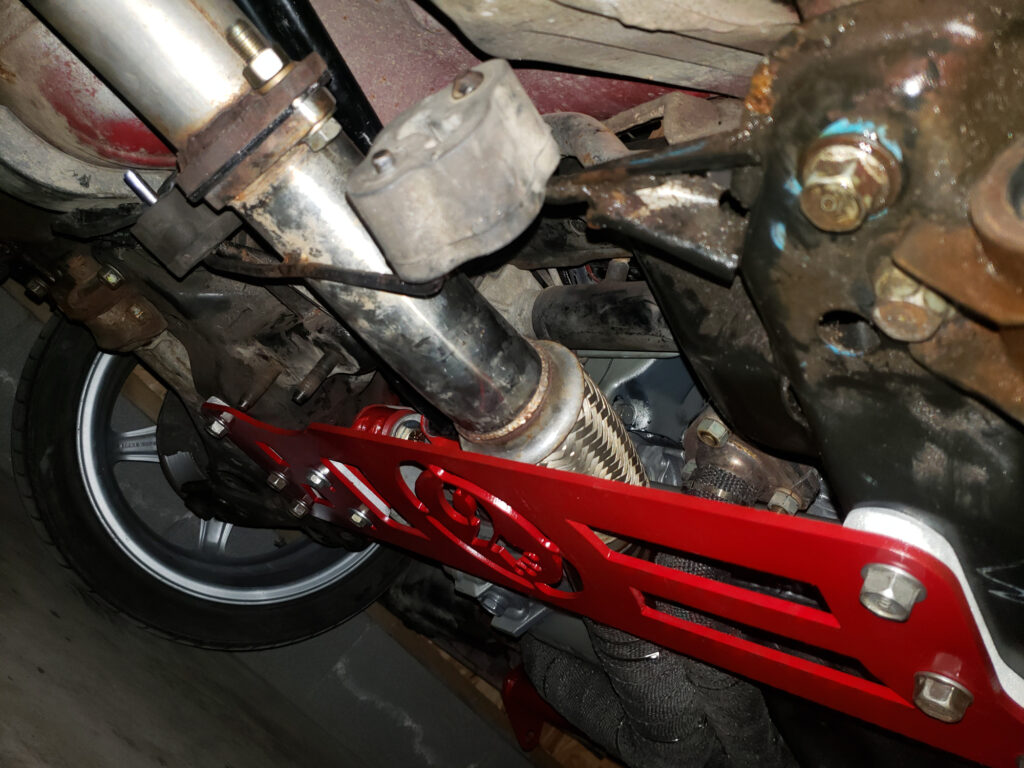
Rear Cross Member
It was at this time of removing the rear cross member I decided it was too difficult to remove and reinstall so I redesigned an easier version that also is much more cost effective.
If you would like to purchase a cross member like this, its added to our store

