Clutch upgrade
way back in 2006 I had installed a Clutchmaster stage 1 clutch when doing an engine swap and my honest opinion is that it didnt feel any different then an oem clutch.
It quickly became apparent that this clutch could not hold the power as I increased the boost past 10psi, The rpms would climb faster then the mph.
You can see this in action in the below video
After doing some research and getting opinions on groups it was brought to my attention racing clutches were actually priced cheaper then street clutches, primarily because the demand was low.
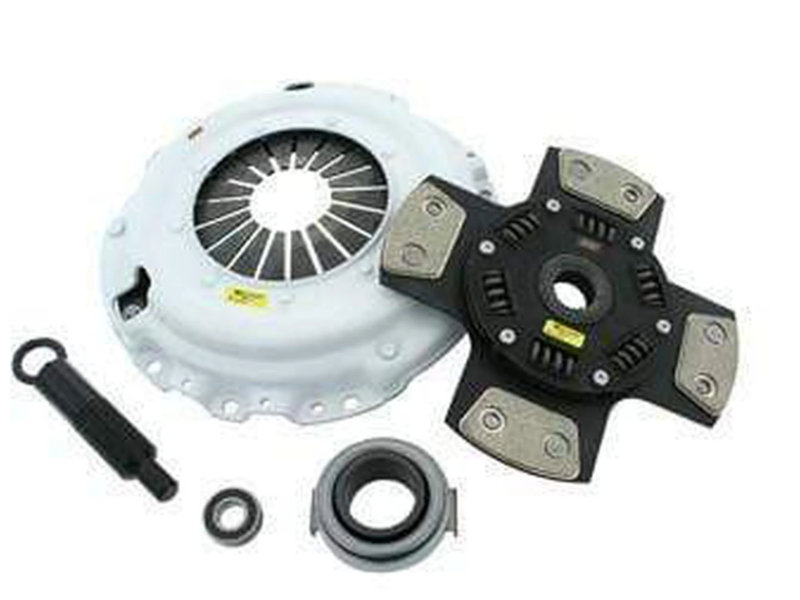
I found a FX500 clutch for $355.oo on Autoplicity.com and could not pass it up.
This is a 4 puck racing clutch, unsprung.
Information on the Clutch:
Part# 07-907-HDB4
Ceramic/Sintered Iron System, 200-400% over stock holding capacity (RACE ONLY)!
The FX500 System uses the Power Plus II Pressure Plate with the Sintered Iron disc or Rigid three or four puck disc. It is designed for maximum holding capacity with no compromises. Using a Sintered Iron friction material, the FX500 holds all the power and rapidly dissipates unwanted heat.
SFI Approved for most race applications.
Warning: The FX500 is a Solid Hub disc that engages and disengages instantly and may chatter upon starting from a stop. This is a Race Only clutch.
First I had to get the old clutch out, this clutch hadn't been used very many miles so i decided to sell it so taking caution was important.
I've taken lots of engines out before, but this time I really did not want to go through all that hassle so i decided to for the first time remove only the transmission. I found with the combination of the a cherry picker and jack it was fairly easy to do alone.
I used the cherry picker to straddle the transmission and lower it out. The alternative was to try and bench press it out, its not too heavy but I felt it was just asking for back pain later.
Using a ratchet strap on around the transmission to the jack also helped keeping it from falling off the jack. I was doing this all alone, anything that can help makes a huge difference in productivity.
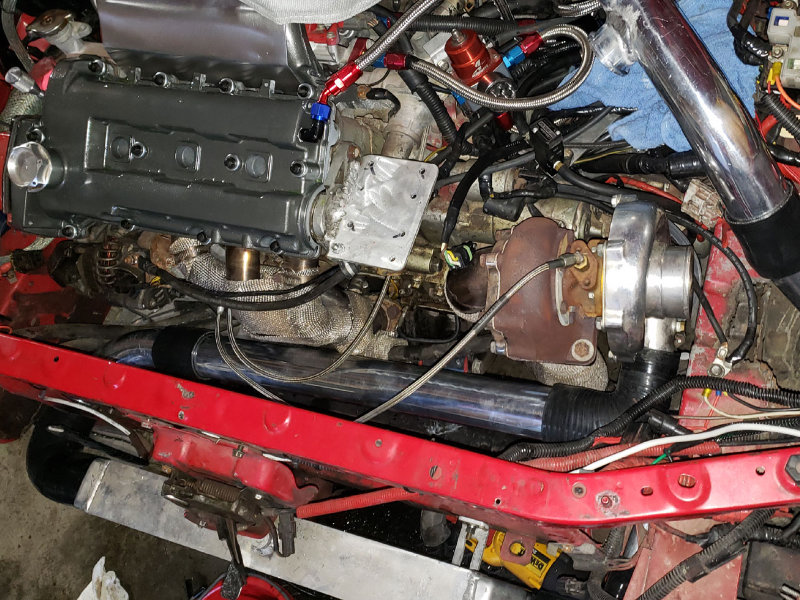
This took me about 4hrs to get everything apart. That may seem long, but this includes removing all of the turbo related piping.
The result
So far the clutch has handled everything I've thrown at it.. up to 15psi of boost.
It is much more aggressive then the stock clutch and does not like to be slipped. It is basically on or off, there is no feathering into it. At a dead stop this not a big deal if your used to not slipping a clutch. On an incline dead stop it takes some practice to not kill the engine or chirp the tires.
Below is an after video using the clutch with launch control and flatshift.

