Converting from Right hand drive to Left hand drive
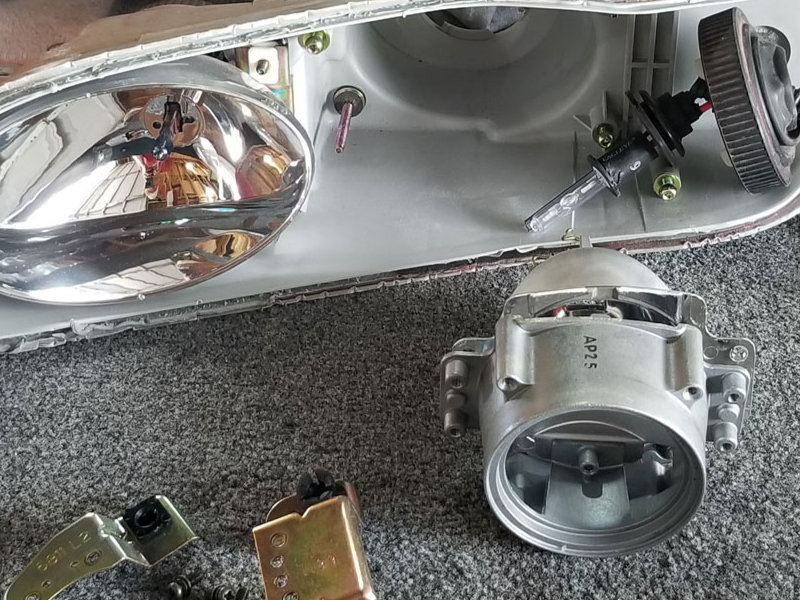
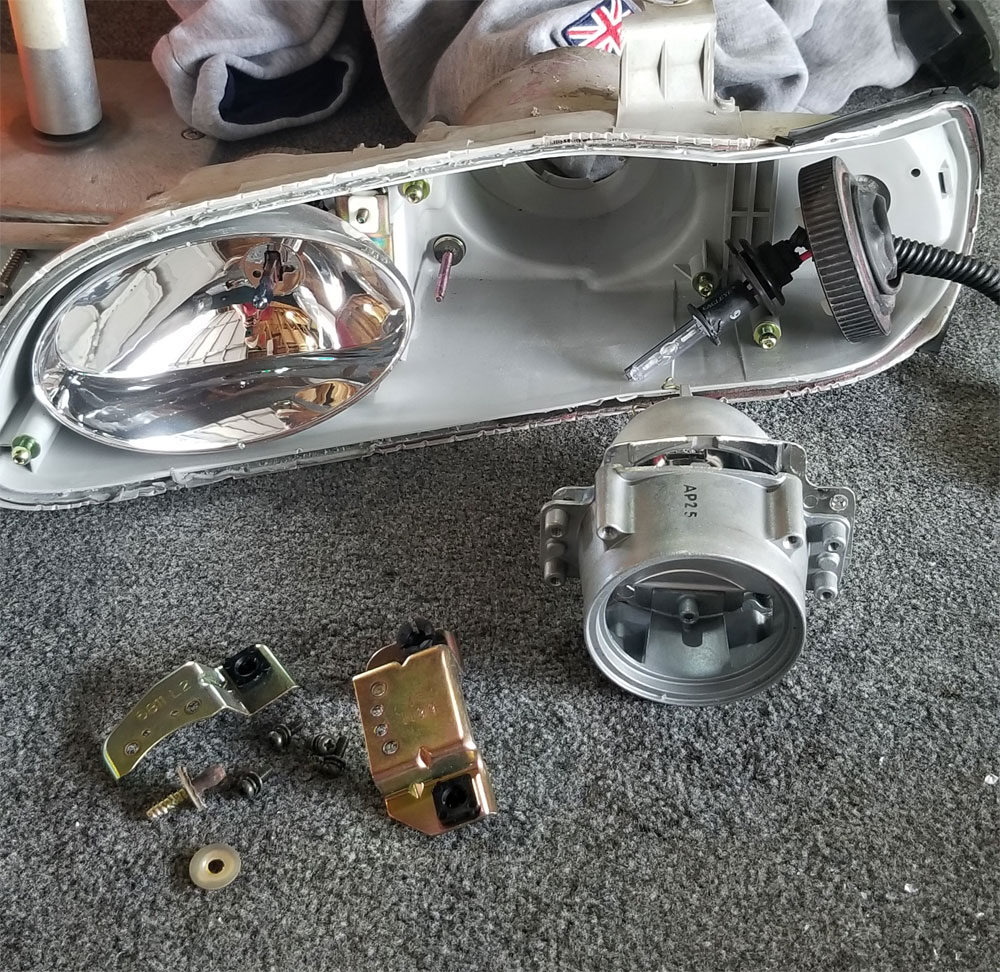
This project involved removing the outer clear lens from each headlight in order to gain access to the projector housings. This is a delicate and tedious process to avoid damaging the outer clear lens. Damaging the lens would be a catastrophic failure as these are rare and priceless headlights – finding duplicates is nearly impossible now.
Tools needed:
- Heat Gun
- Flat head Screw Driver
- Philips Screw Driver
- Utility Knife
- Tin snips
Materials Needed:
- TSX Lenses
- 18GA Sheet Aluminum
Step 1. First remove the clear lens’s from the headlight housing. This can be done by placing your headlights on a baking sheet and in the oven for several minutes to soften the glue. When the glue is soft the lens’s can be carefully pealed off using prying tools such as a butter knife/ flat head screw driver or puddy knife. It may take several times of heating and prying using the often method.
Ideally, using a handled heat blow gun is the best method. You can heat in specific areas as you pry on the lens. You will heat on the gray housing part of the headlight behind the lens contour. Take care not to heat to much as you will deform the housing making reassembling the lens later very difficult. When the glue is soft it will be evident as the lens will peel from the housing like peeling gum from your shoe, it will have some resistance.
legible, readable and appealing when displayed. The arrangement of type involves selecting typefaces, point size, line length, line-spacing (leading), letter-spacing (tracking), and adjusting the space within letters pairs (kerning).
Step 2. Now that the lens is off, you will need to remove the chrome inner housing. This chrome piece is held on by plastic press in tabs, you may be able to simply pry it apart carefully by hand to release it from the outer housing. or use a door panel removal tool to pry up on the exact position of the plastic press in tab.
From here disassembly is generally self explanatory, the Projector housing is held in with Philips head screws and pivot points for aiming. Simply unscrew all of them and pull out the projector.
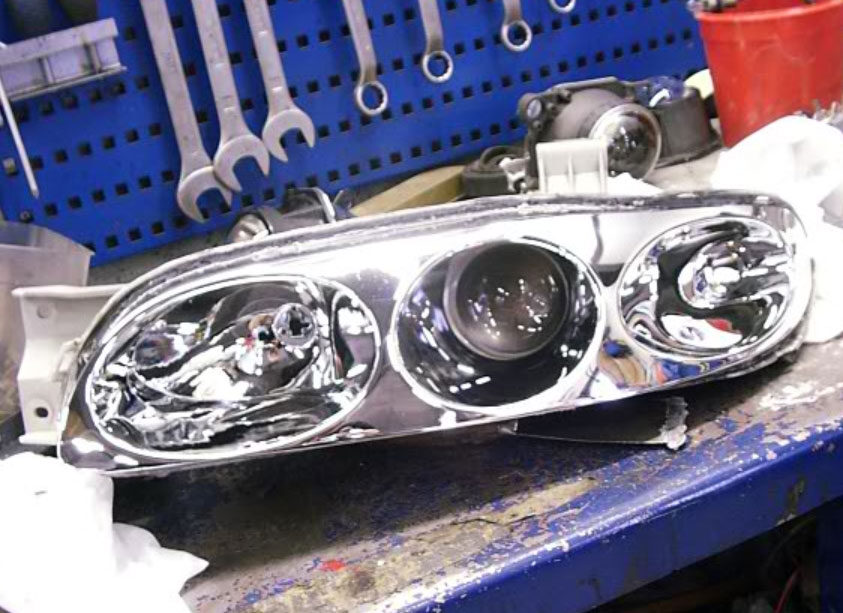
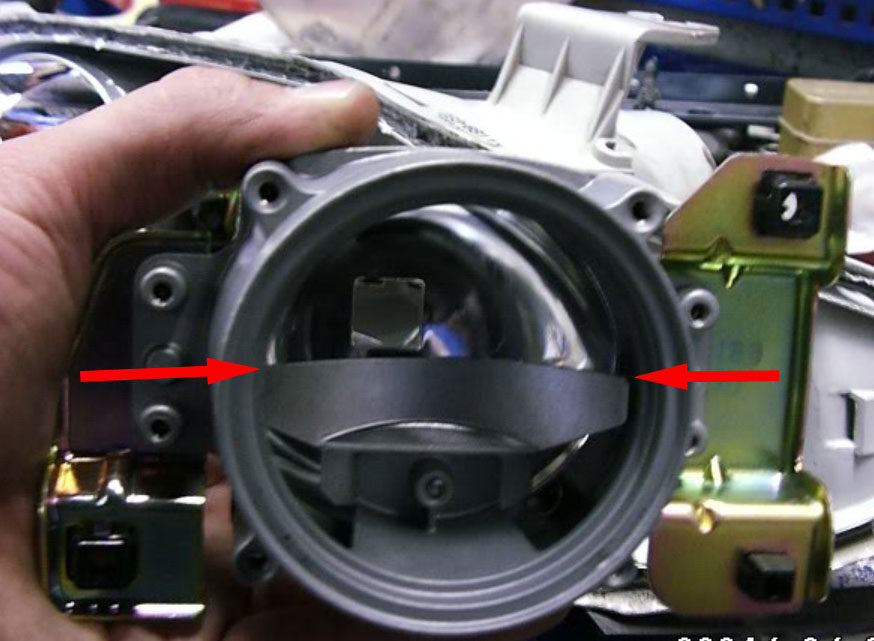
Step 4. The front housing of the projector holds the cut off shield. At first thought the cut off shield doesn’t make sense being its at the bottom.. that would allow light to be above it , not below it? Correct. However the projector lens flips the light output, so whatever is at the bottom will be output at the top. The higher this cut off shield is made, the lower the light output height will be and vice versa.
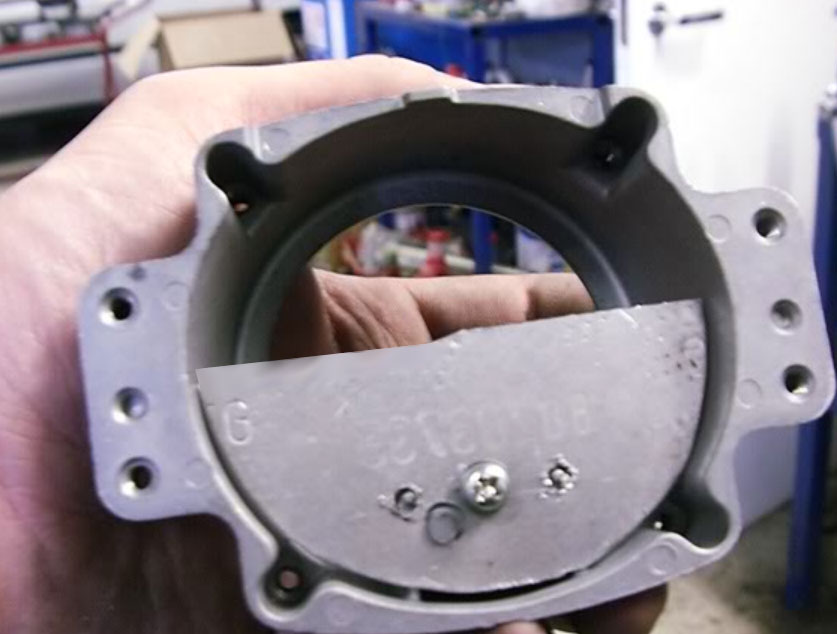
Step 5. Before removing the stock cut off shield, use a sharpie marker or scribe pen to mark the height of the cut off shield inside the housing. This will be your reference point for the custom shield you are about to make.
Note: You cannot simply swap the passenger headlight cut off shield to the right headlight, they are identical cut off shields.
Step 6. Now comes probably the most difficult and trialing part of this modification, The DIY cut off shield. The best material for this is some gutter/heat vent flashing. Any aluminum or stainless 18-20GA. You can start off a mock up of the cut off shield using the housing as the template. Trace out a the inner circle of the housing onto the material your using and cut it out with the tin snips. From here you can get baseline of the light output, and what it will take to get the light you want to achieve.
Step 7. From here you can reuse the stock projector lens or upgrade to retrofit lens’s. The TSX Stock projector lens are a direct drop in fit and have superior light output in comparison to the Jspec lens. Another alternative is the Aftermarket TSX-R lens witch are a superior lens the stock TSX lens. The TSX-R lens will require a a custom spacer ring and holder shim to hold them to the Jspec housing, as they are smaller diameter lens.
Step 8. Before completely reassembling your headlights, there are hundreds of headlight accessories on the market today, virtually anything you can think of can be done, from switch backs, to CCFLs, LEDs, etc. Now is the time to add in any of these customization’s that will set your car off from the rest. Shown here, I had placed 3mm Leds inside of the projector housing to have them glow red.

