Software
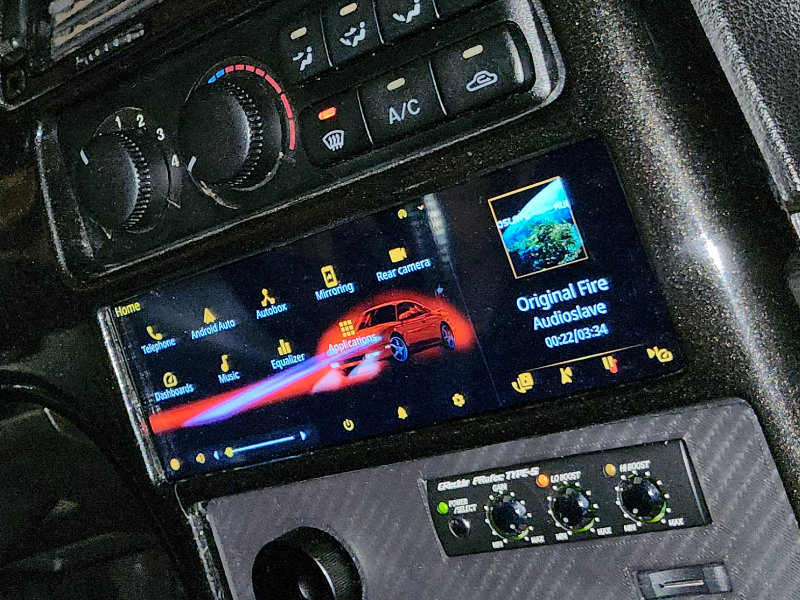
There is a bit of a learning curve with this software.. To Customize it. Otherwise in default settings, it works straight outa the gate.
Issues I encountered:
- The screen wasn’t showing the entire UI, This involved finding a file in the Raspberry Pi and changing a setting.
- Next came power failures, after connecting a reverse camera and turning it on, Id get low voltage warning and frequently the pi would shutdown and reboot.
- I then had the issue of the SDCard getting corrupted when disconnecting power.
1. This fix was easy but complicated if your not familiar with Pi operating system. The process was to go to close OAP (Openauto-pro), and instead of choosing shutdown, push back. This then minimizes OAP and shows the Rasbperry pi desktop. From here i found the folders icon, and then browsed the folders to find: openauto_system.ini.
Location: /home/pi/.openauto/config/openauto_system.ini
Open that file, then Find the heading: ScreenType=0
Then change that 0 to a 1 and save. (1 = Widescreen)
2. This was a result of the video capture card taking to much power when the camera was on, and the solution was to swap from a 5v 3amp power inverter, to a 5vt 10 amp power inverter.
3. This was result of the SDCard having read/write capability. The card would get corrupted if something was being written while power was disconnected. The fix was to lock the SDCard to Read Only.

